ActiveCampaign Integration
-
Integration Setup
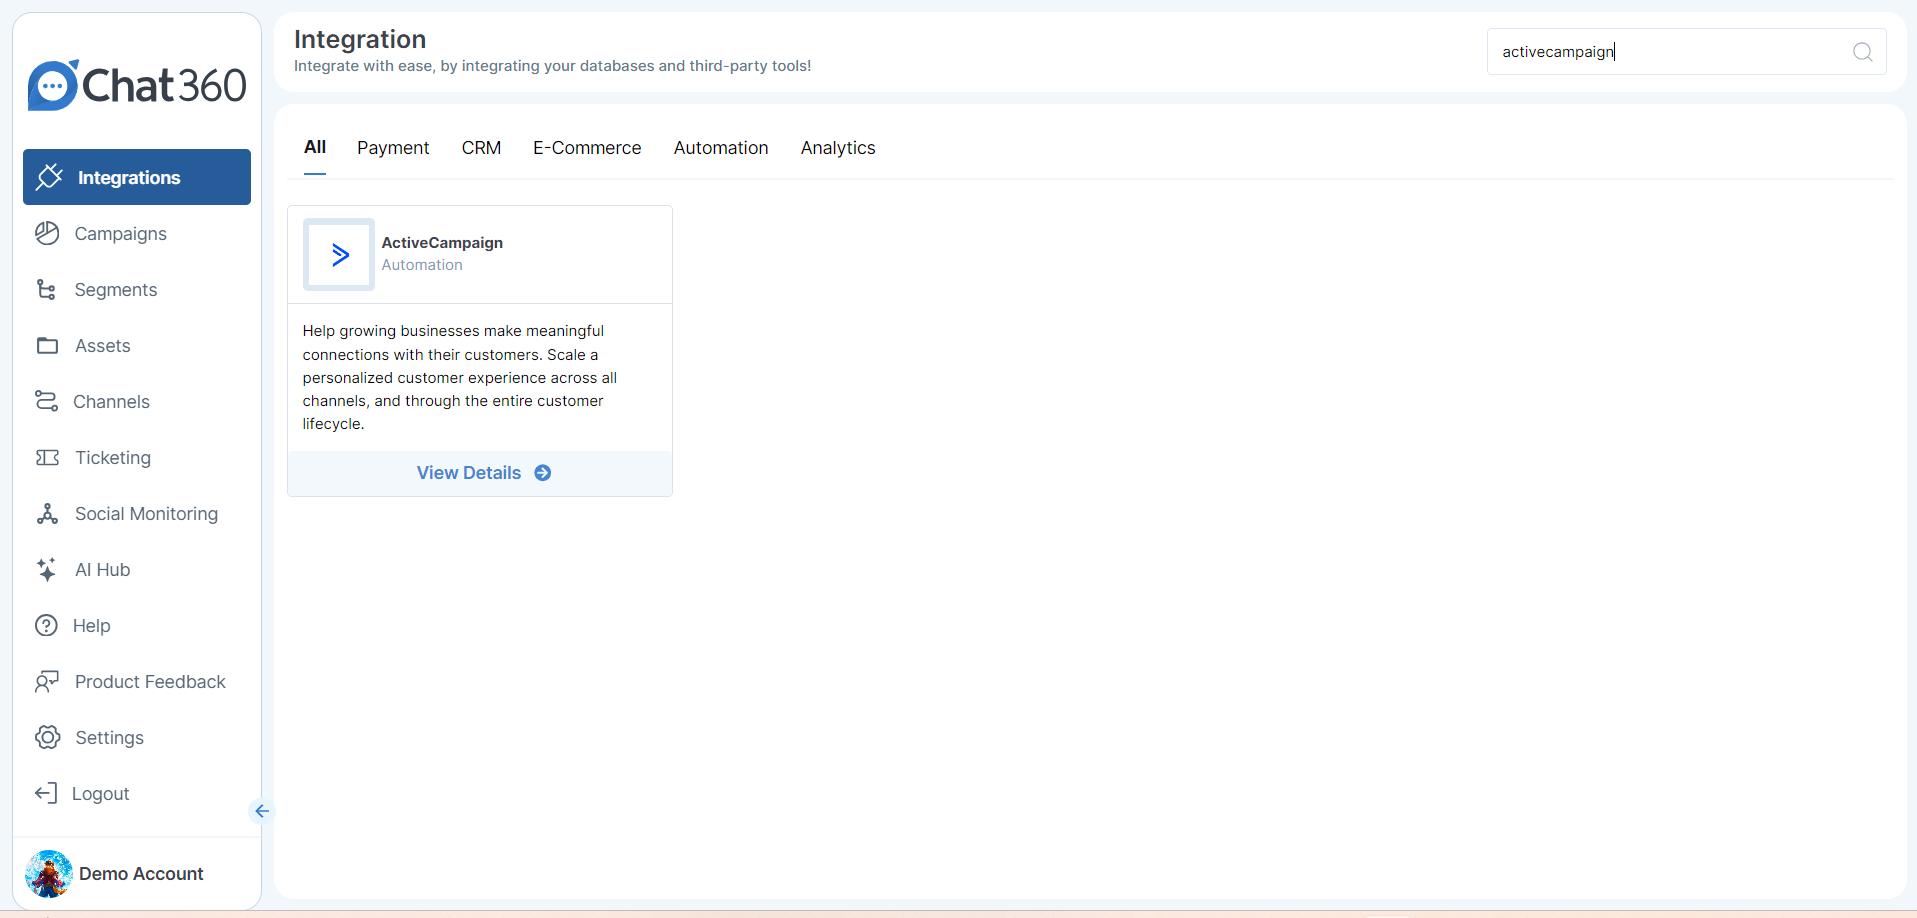
1. Access Integrations
- Navigate to Integrations in the Chat360 dashboard.
- Search for ActiveCampaign.
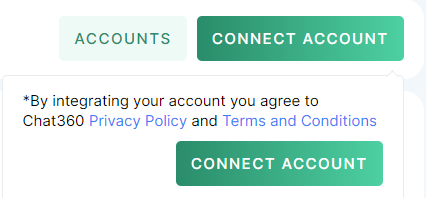
- Under the Accounts tab, click Connect Account (or select an existing entry).
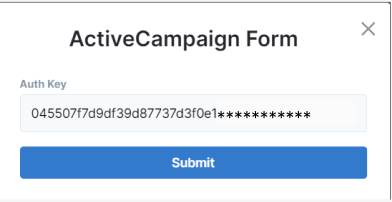
- Retrieve your API Key from ActiveCampaign:
- Log in to ActiveCampaign and go to Settings → Developer.
- Copy the API Key.
- Paste the API Key into Chat360’s Auth Key field.
- Click Save. A confirmation message indicates a successful connection.
2. Connect Account

-
Creating an Automation Template
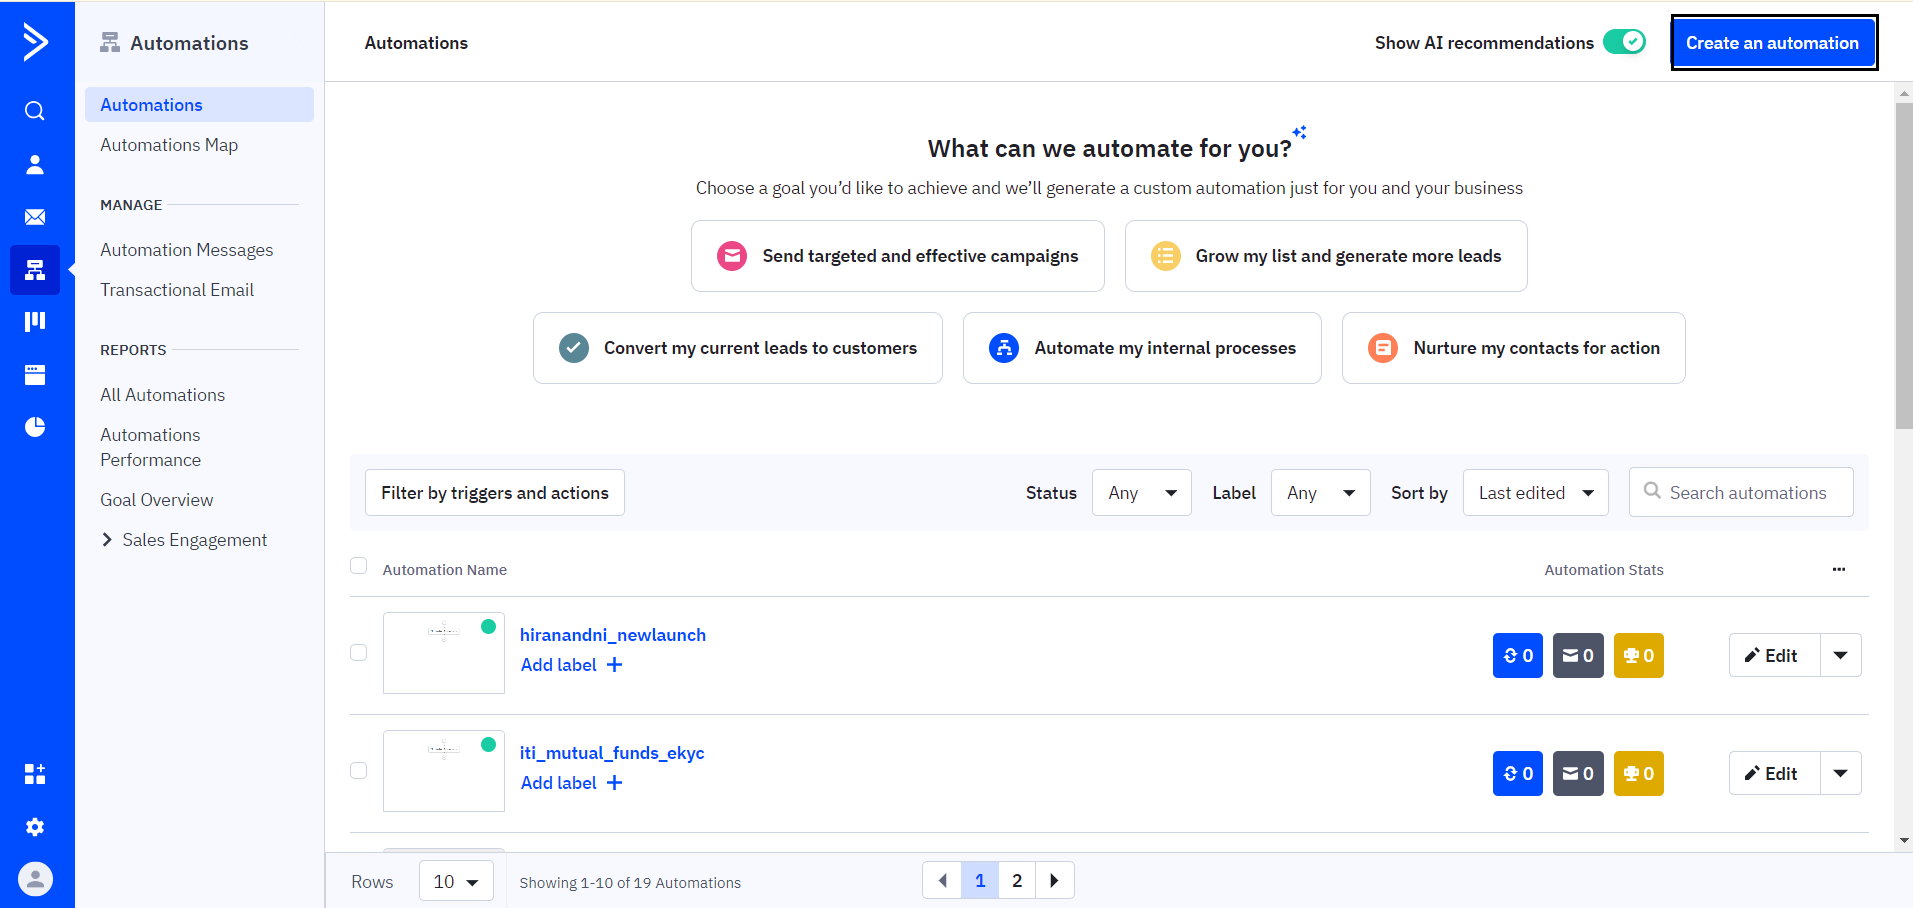
1. Start in ActiveCampaign
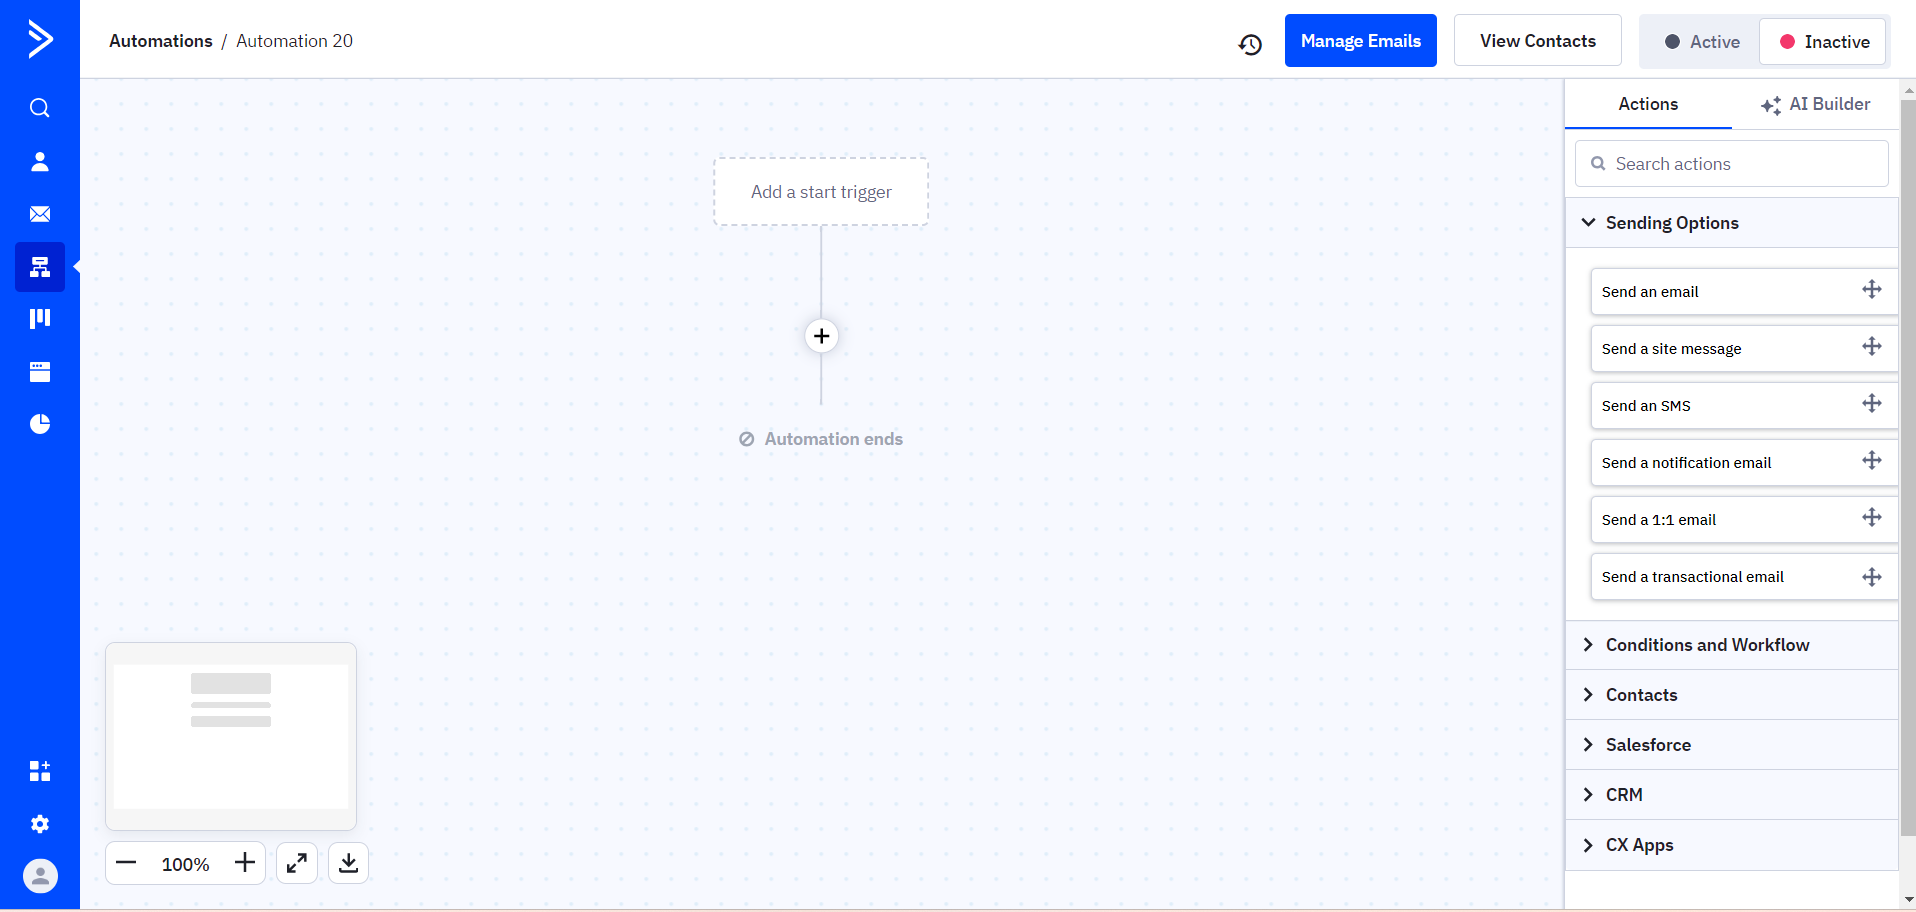
- In ActiveCampaign, go to Automations → Create Automation.
- Choose Start from Scratch; optionally select a trigger or click Start Without Trigger.
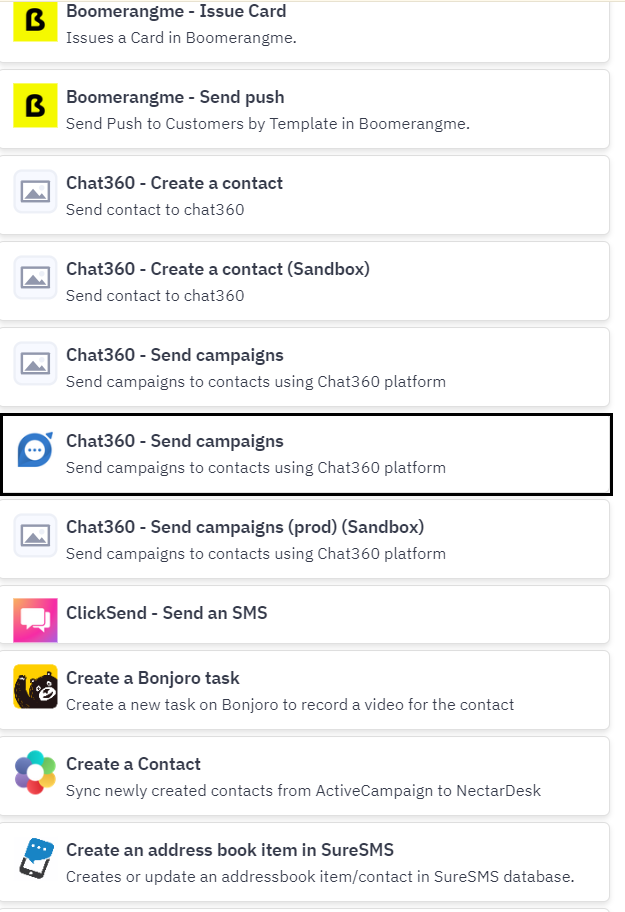
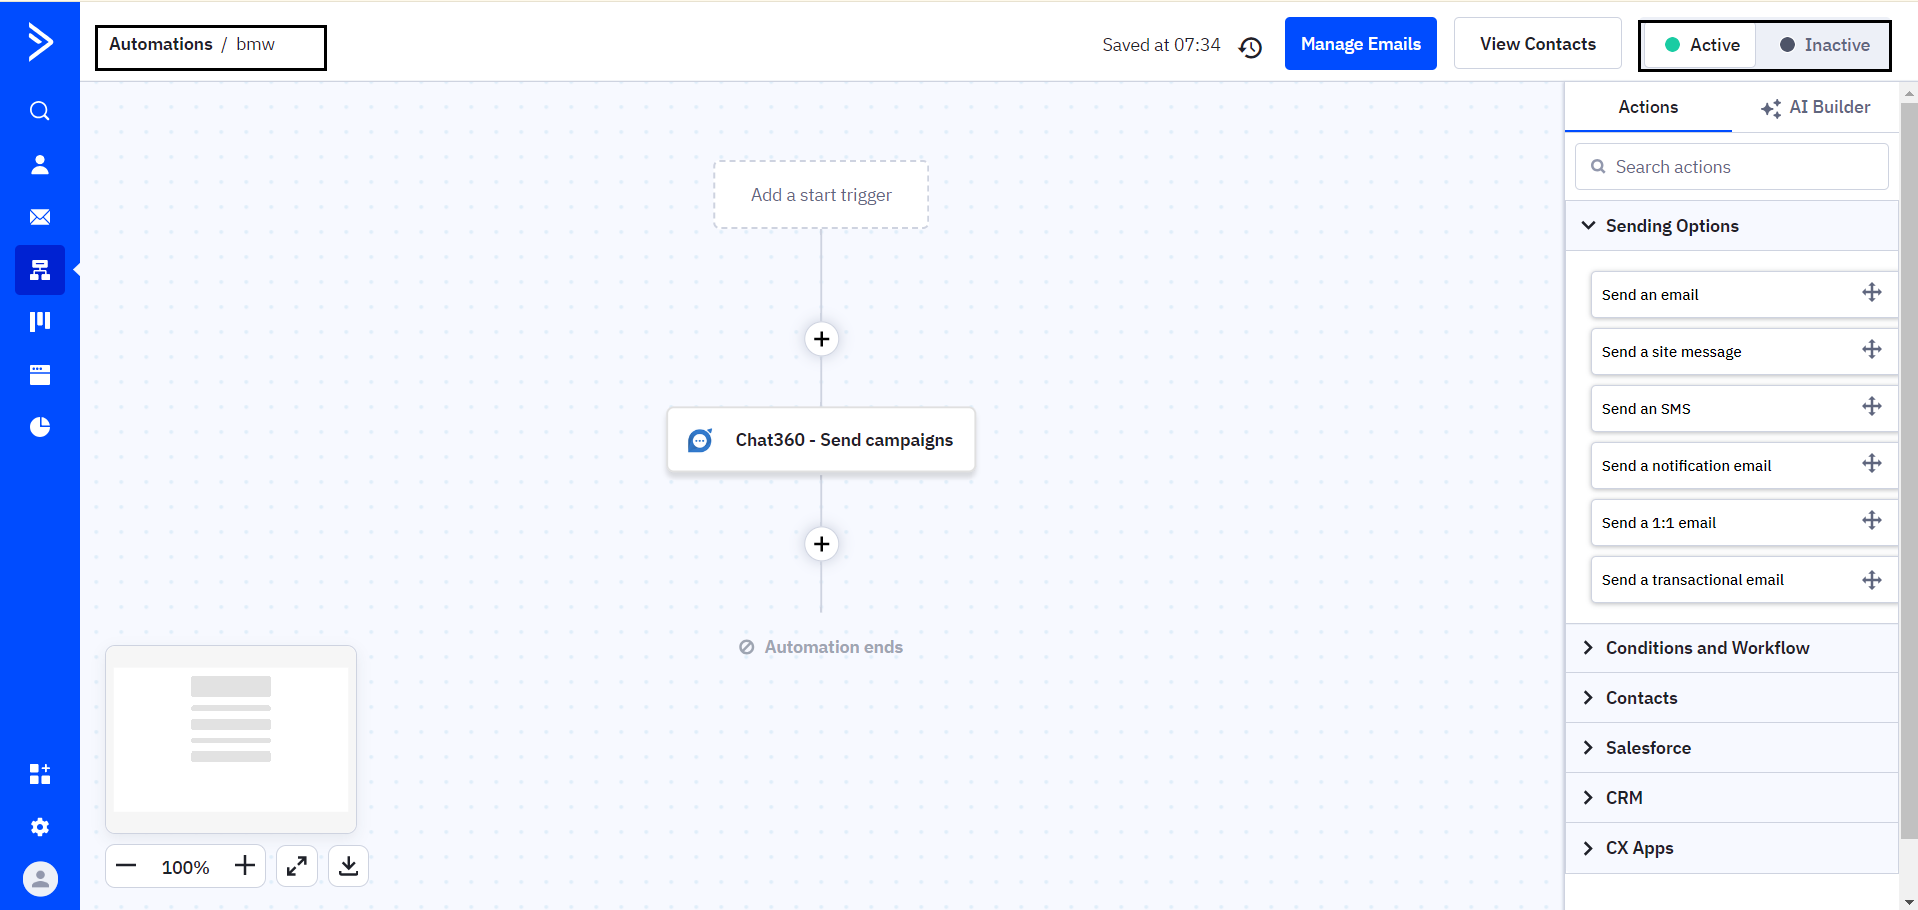
- On the automation canvas, click the + icon and select Action.
- Choose CX App → Chat360 Send Campaign.
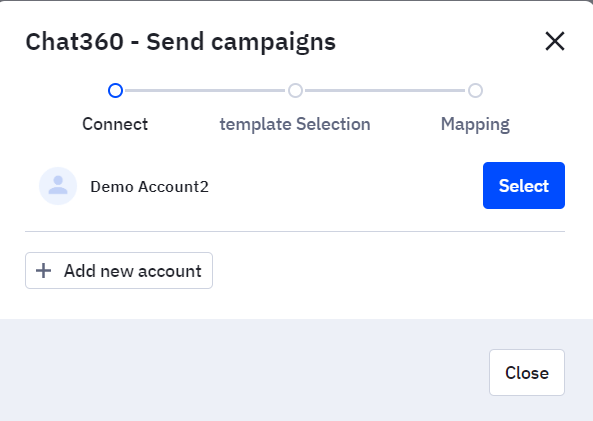
- Connect: Ensure your ActiveCampaign account is selected.
- Template Selection: From the dropdown, pick a Chat360 template:
- To view parameter schema, go in Chat360 to Campaigns → (⋮) View Code and copy the param_data and button_param_data JSON structure.
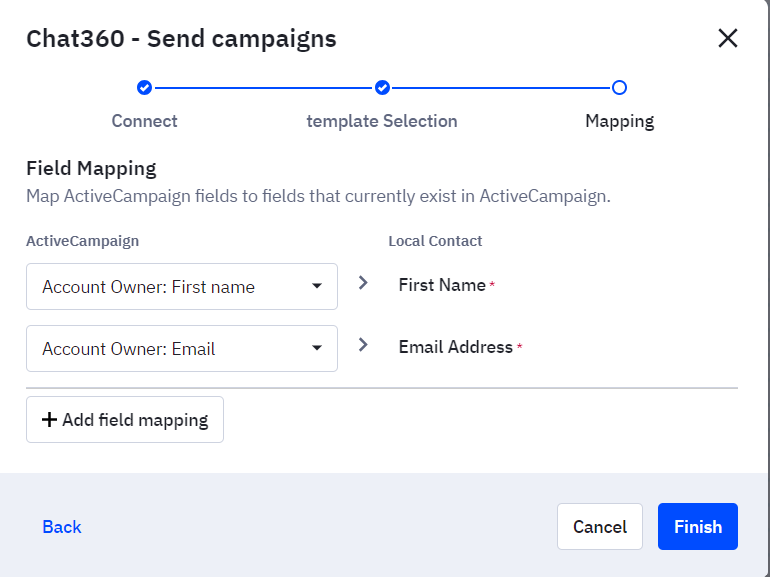
- Map Fields: Map contact attributes (e.g., first_name, email) to template parameters. Add additional field mappings as needed.
- Rename the automation for clarity.
- Toggle Inactive → Active on the right panel.
- Click Save.
2. Add Chat360 Action
3. Configure Campaign Action
        {
            param_data:{},
            button_param_data:{}
        }

4. Activate Automation
-
Sending Campaign
1. Create or Select a Contact
- In Chat360, go to Contacts → Add New Contact.
- Enter and save contact details.
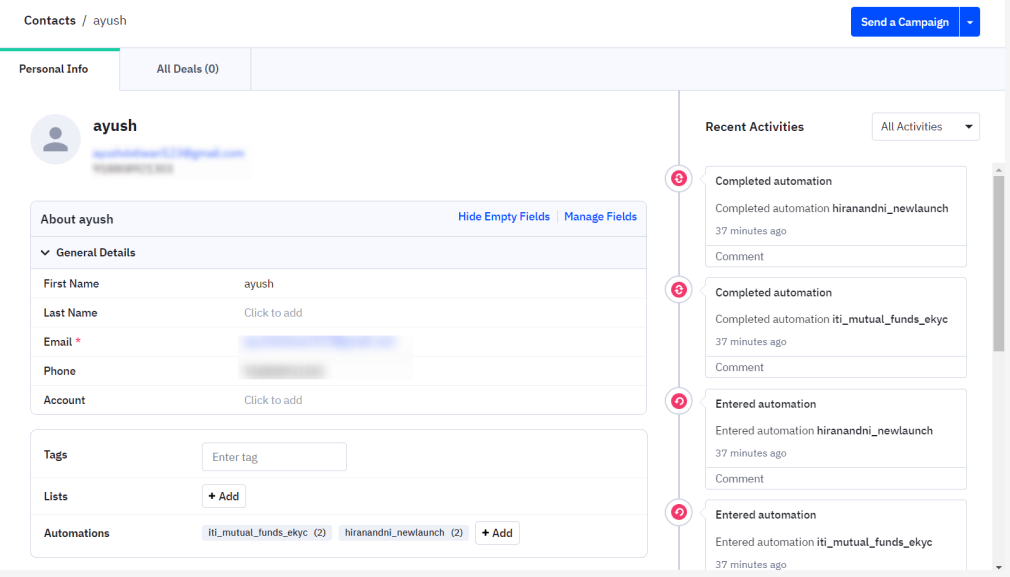
- Open the saved contact’s detail page.
- Click Automations and select the ActiveCampaign automation you configured.
- The Chat360 template will be sent to the contact via ActiveCampaign.

2. Trigger Automation
-
Key Benefits
- Seamless Two-Way Sync: Automatically push Chat360 templates into ActiveCampaign workflows without manual export/import.
- Dynamic Personalization: Leverage mapped fields to deliver fully personalized WhatsApp messages at scale.
- Unified Campaign Management: Run and monitor multi-channel campaigns from within familiar ActiveCampaign automations.
- Reduced Time to Market: Quickly onboard new automations by reusing existing Chat360 templates.
- Improved Engagement: Combine email, SMS, and WhatsApp outreach in a single, cohesive journey.
-
Real-World Use Cases
- Scenario: A new lead is added in ActiveCampaign.
- Outcome: Immediately triggers a WhatsApp welcome message from Chat360, providing onboarding links and next steps.
- Scenario: A contact’s status changes to “Cart Abandoned.”
- Outcome: ActiveCampaign workflows send a Chat360 template reminding the user of items left in their cart, boosting recovery rates.
- Scenario: An event registration date approaches.
- Outcome: ActiveCampaign sends SMS, email, and a Chat360 WhatsApp reminder 24 hours prior, increasing attendance.
- Scenario: After purchase confirmation, a “Closed Won” tag is applied.
- Outcome: Triggers a Chat360 template via WhatsApp, asking for a product review and CSAT feedback, streamlining post-sale insights.
- Scenario: Subscription expiry date nears.
- Outcome: Automation sends a personalized WhatsApp template reminding the user to renew, improving retention.
-
1. Welcome Series Automation
By following these steps, teams can harness the combined power of ActiveCampaign’s automation engine and Chat360’s messaging templates to create engaging, data-driven customer journeys.
Thank you for your feedback!
We appreciate your feedback!