How to Create a Gen AI Voice Bot
1. Login
- Open your browser and navigate to the voice bot platform.
- Enter your credentials (username and password) to log in.
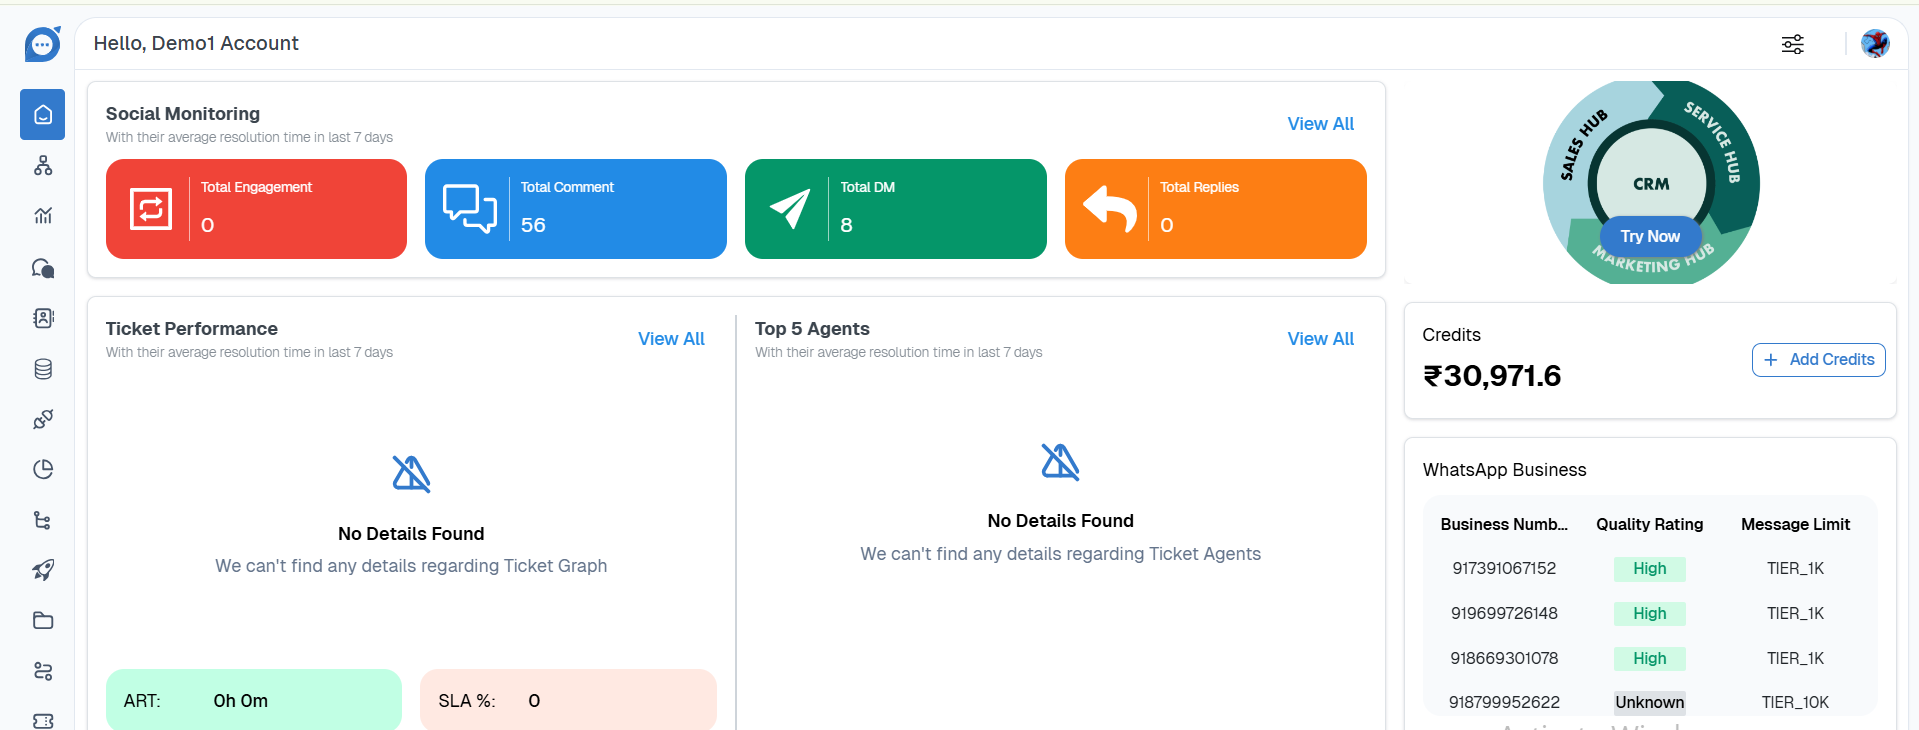
2. Home Screen
- After login, you will see the home dashboard, which provides an overview
3. Go to Bot from the Side Panel
- On the left-hand side panel, locate and click on “Bot”. This will take you to the bot management screen.
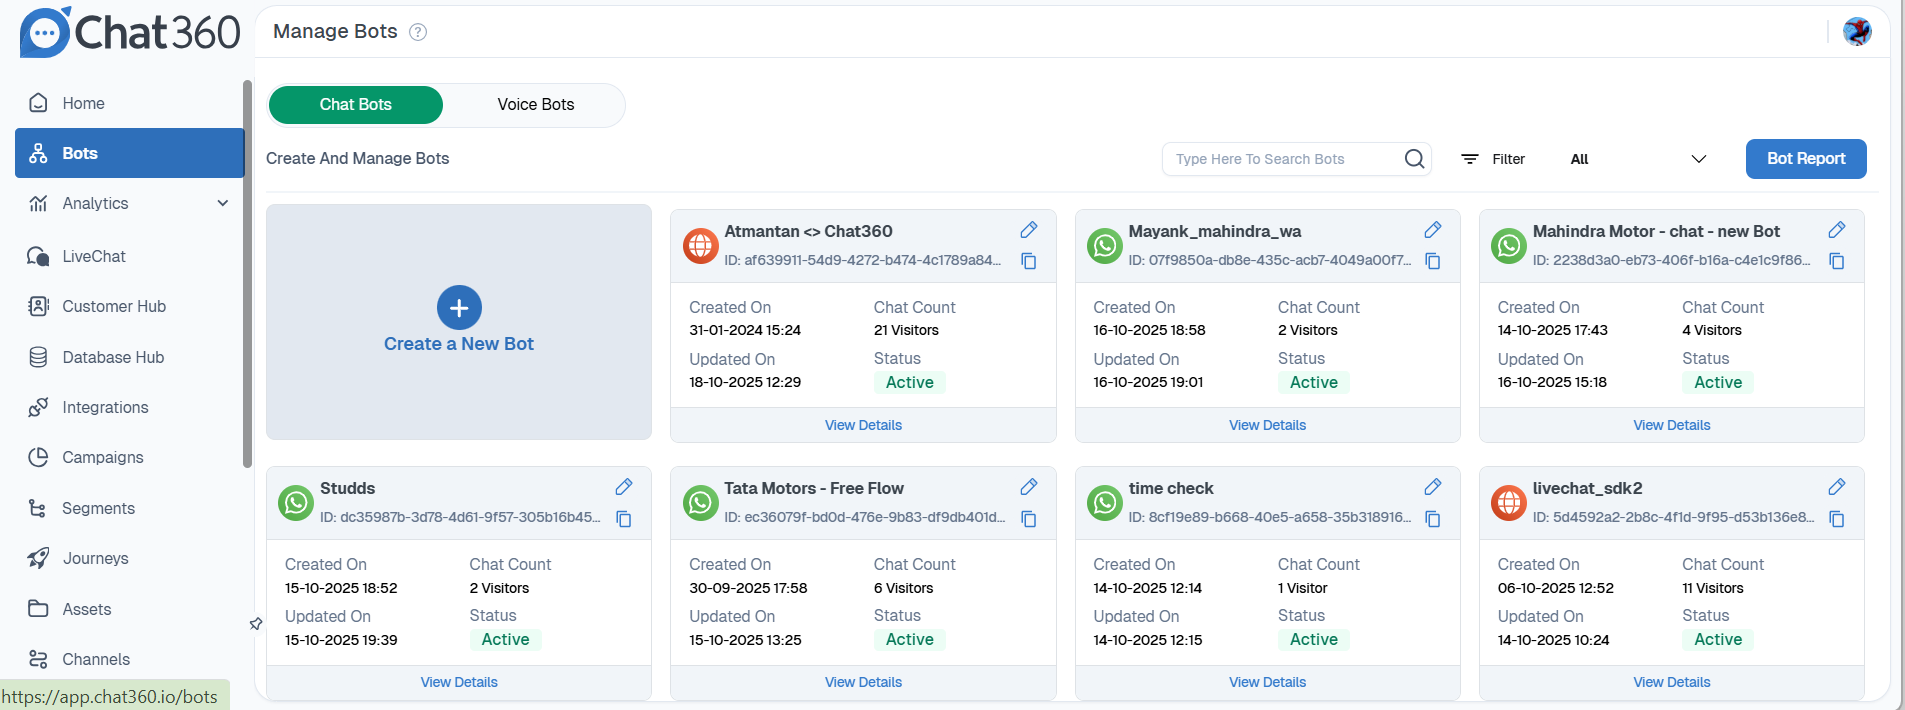
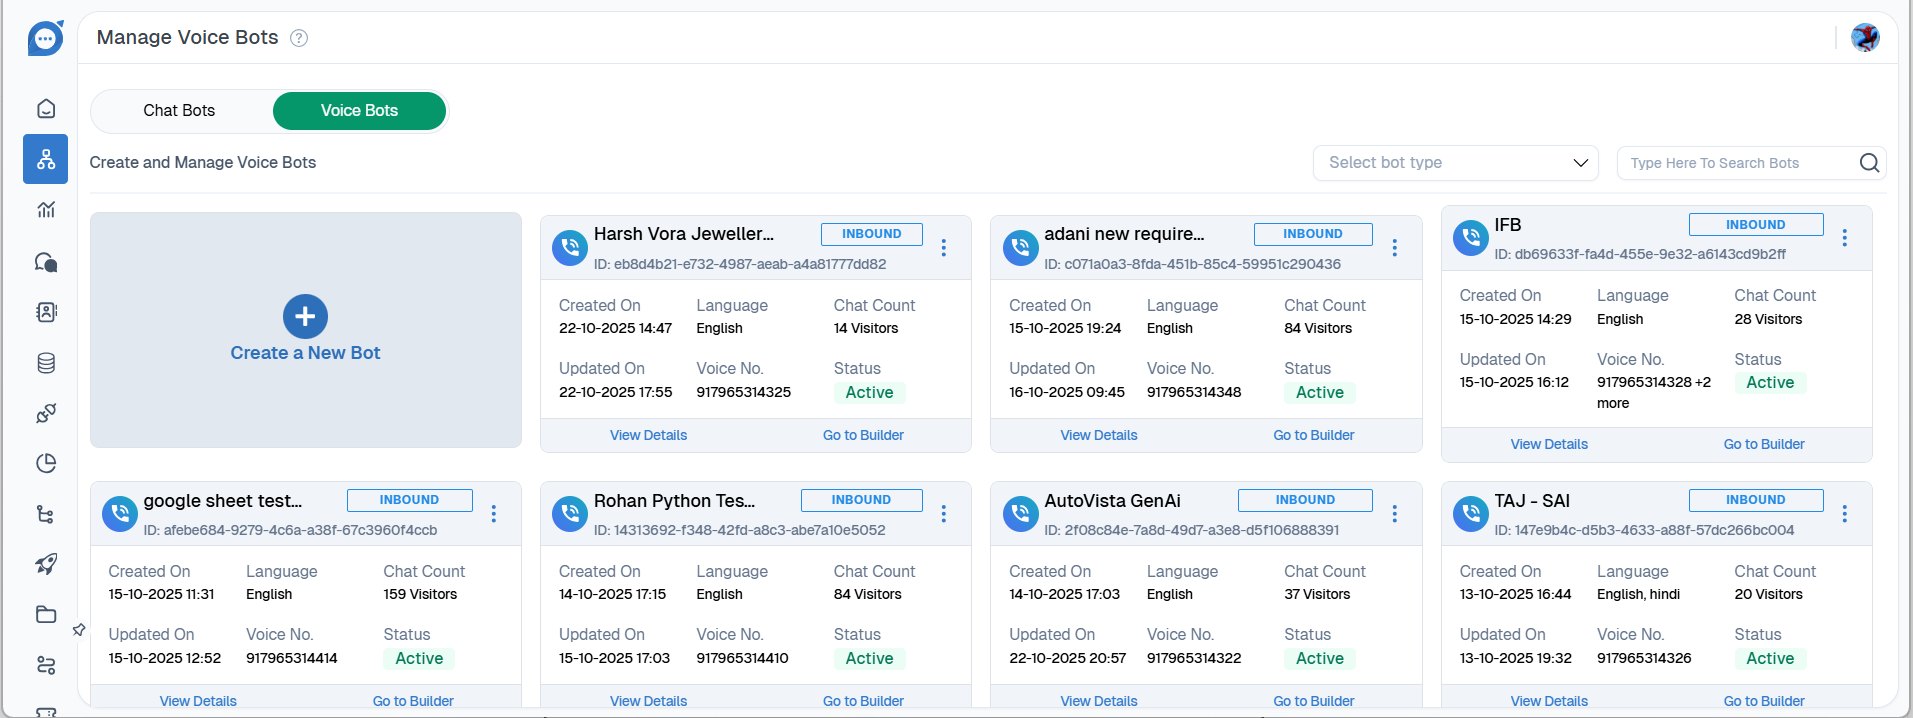
4. Select Voice Bot Tab
- In the bot management screen, select the “Voice Bot” tab to start creating a voice-enabled bot.
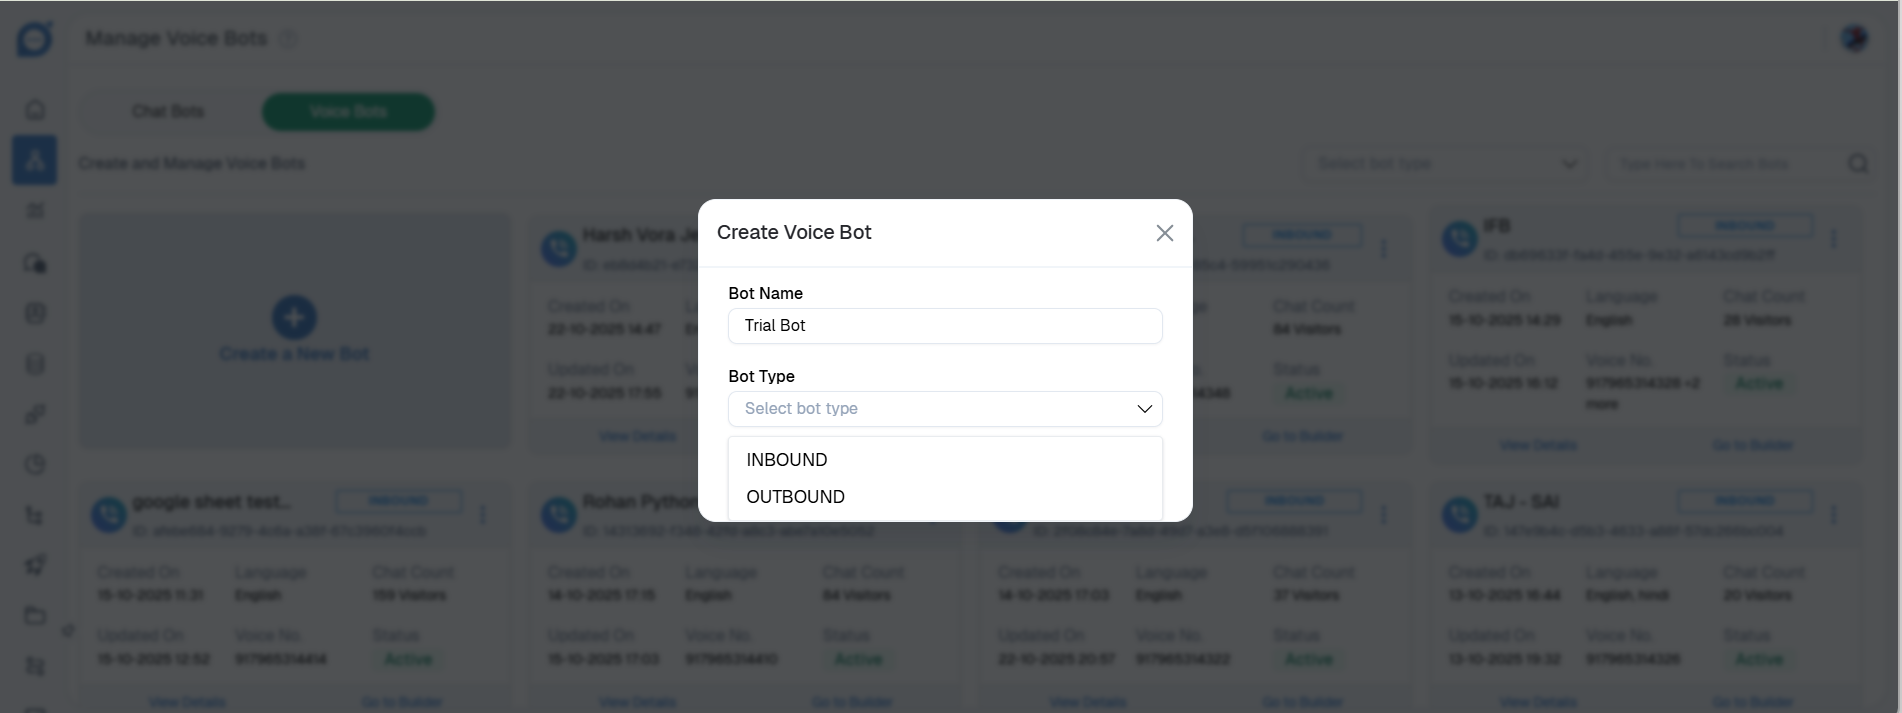
5. Fill the Bot Name
- Enter a unique and descriptive name for your bot. This helps in identifying the bot later.
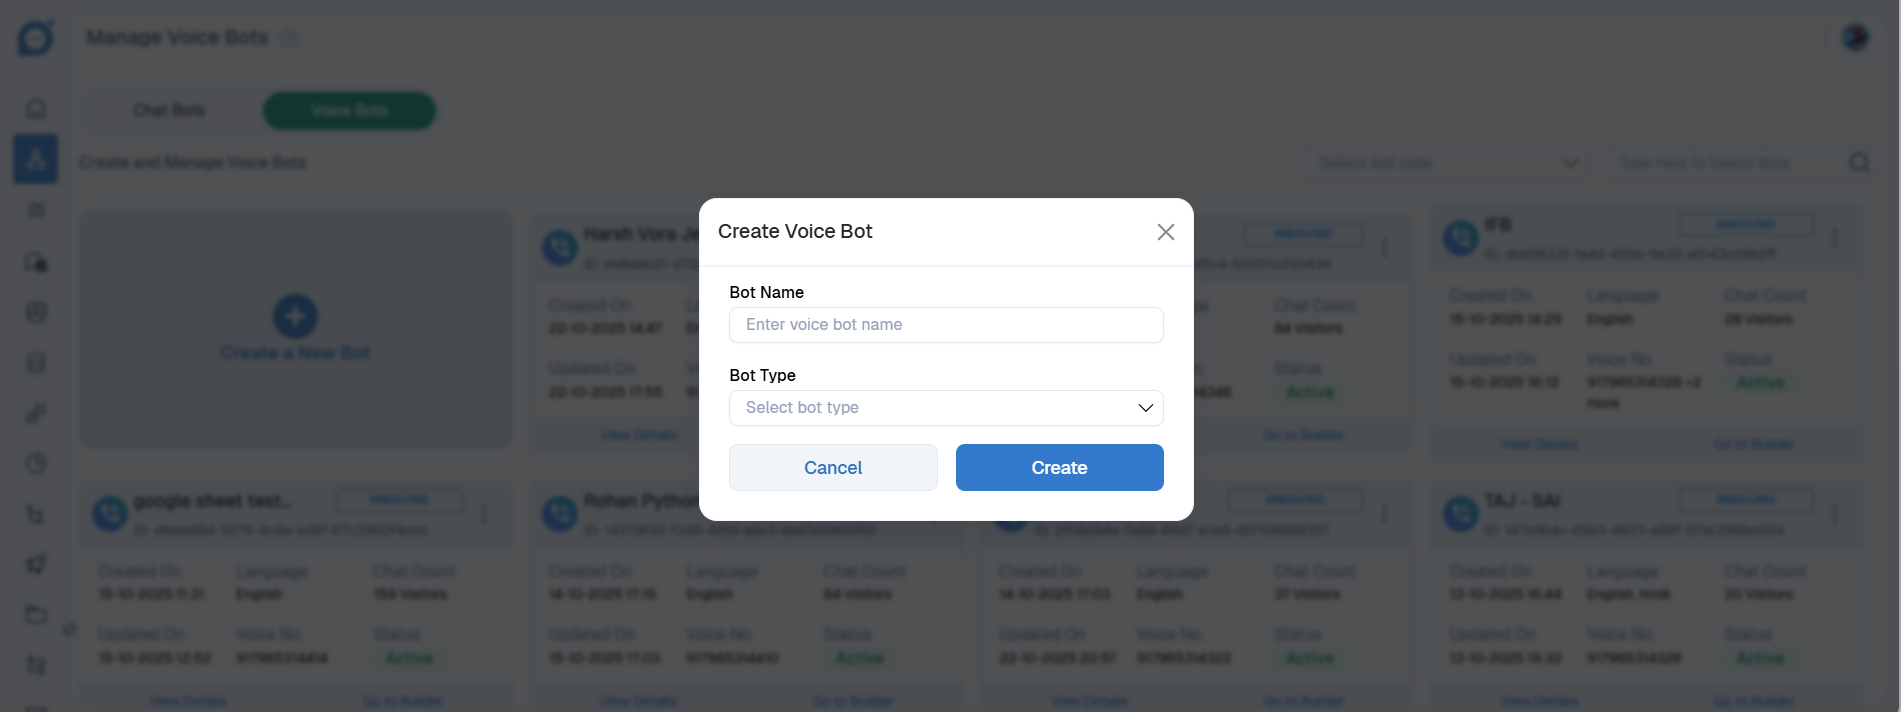
6. Select the Bot Type
- Choose the type of bot you want to create (Inbound or Outbound).
7. Open Bot Builder
- A Bot Builder interface will open. Start by connecting the Start component.
- Search for the “Set Variable” component and attach it to the Start node.
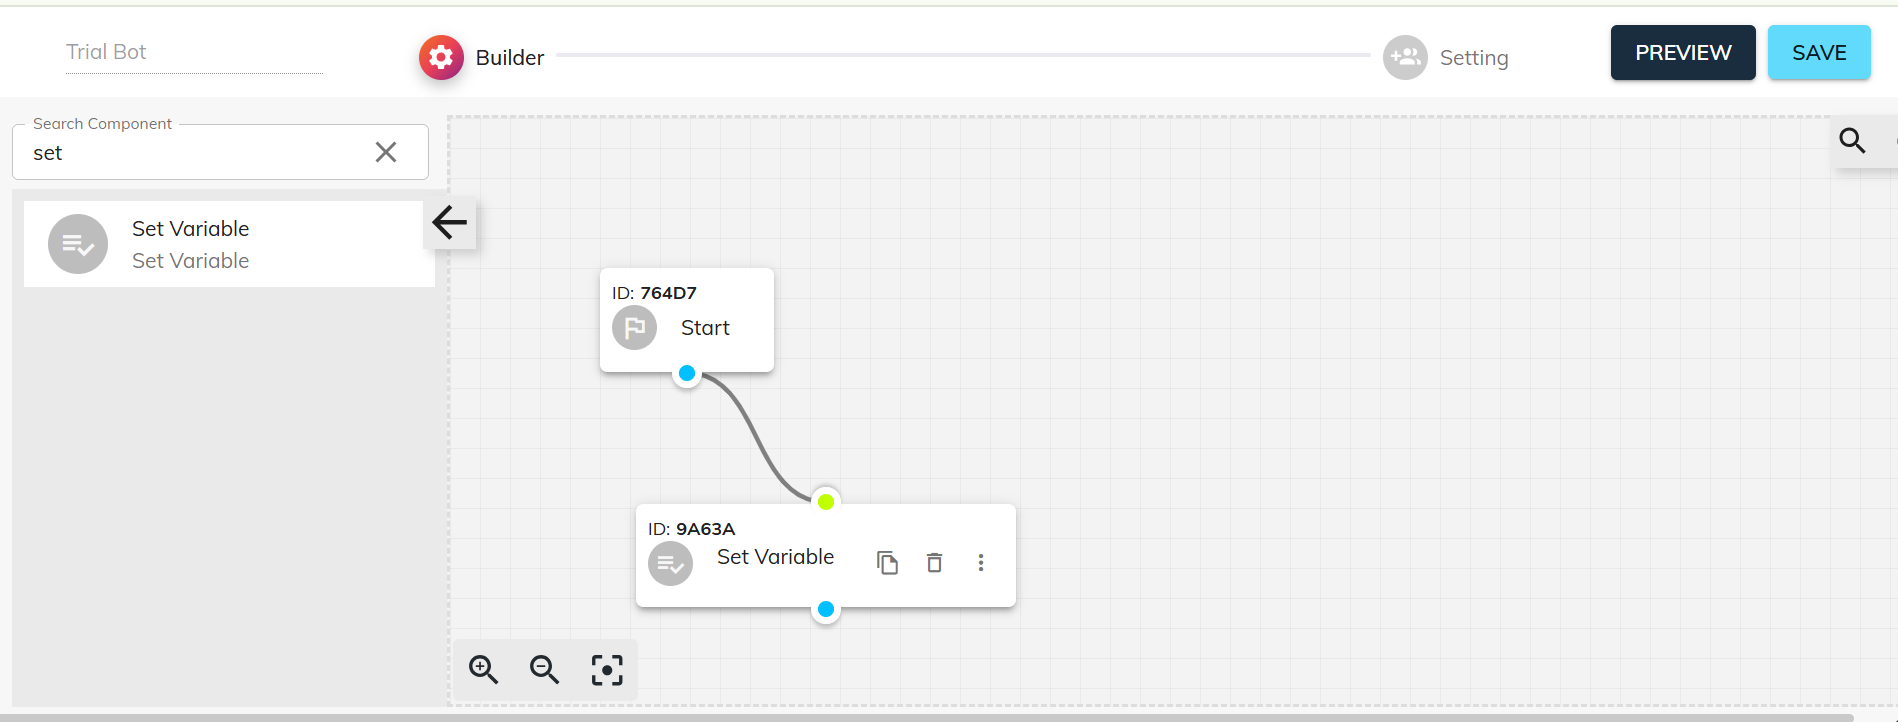
8. Set Variable
- In the Set Variable component, define a variable name and value.
- This variable can be used and fetched anywhere within your bot flow.

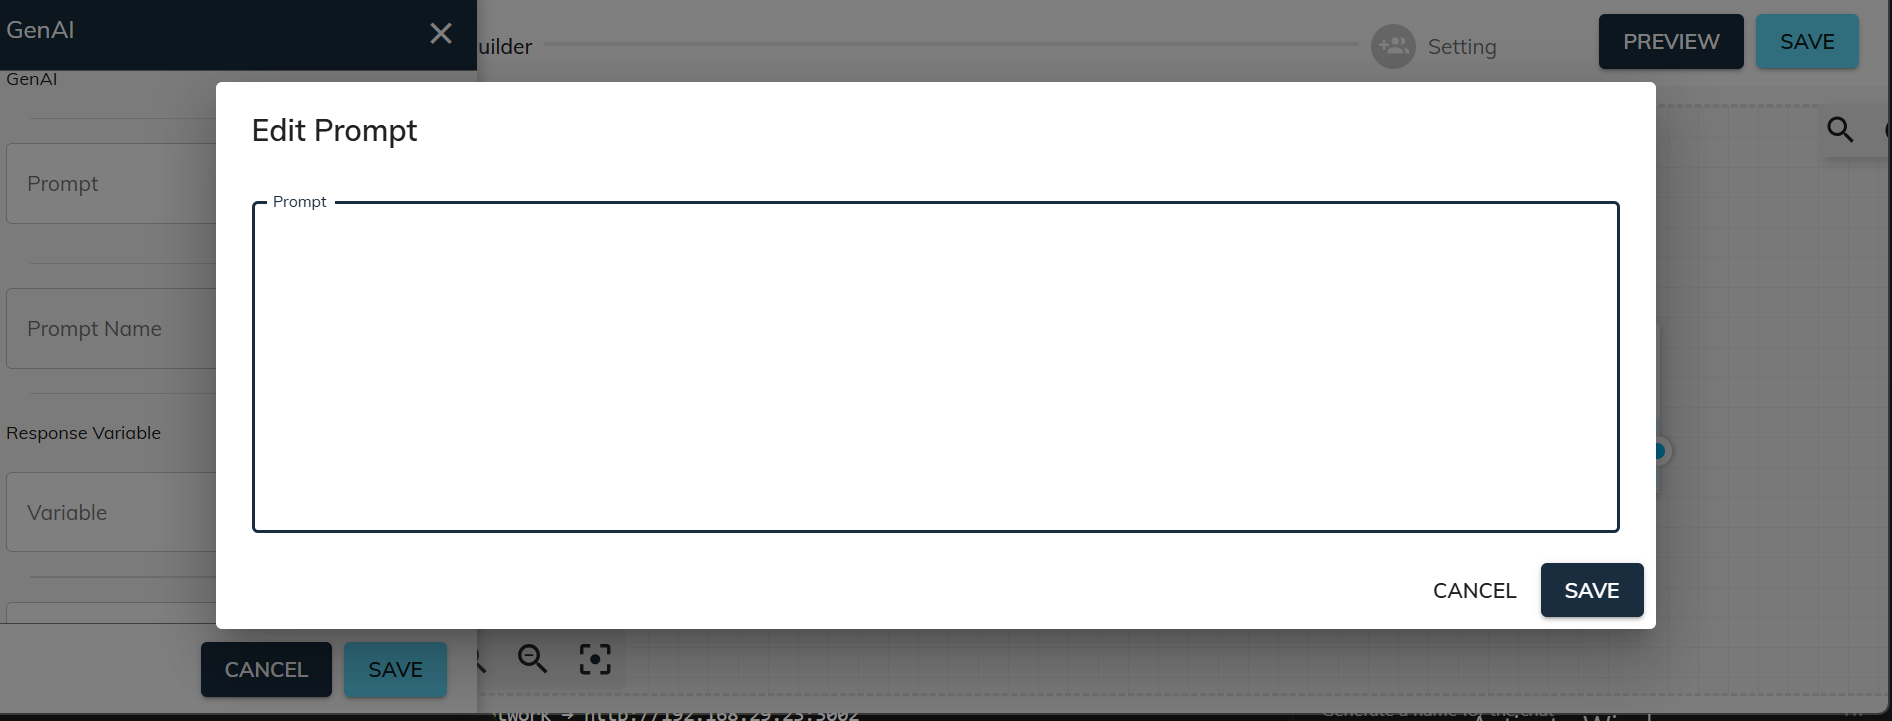
9. Connect Gen AI Component
- Attach a Gen AI component to the Set Variable component. This will allow AI responses to interact with your variable.

10. Adding Prompt (Optional)
- While the Gen AI component is connected, you can add a prompt.
- Currently, adding prompts directly may require using Postman or contacting a Product Manager/Developer/Bot Builder.
11. Select Prompt from AI Hub
- You can also select a pre-existing prompt from the AI Hub. We will cover adding custom prompts later.

12. Set Query Variable
- Set the variable as @query, meaning any user input or query will be stored in this variable.
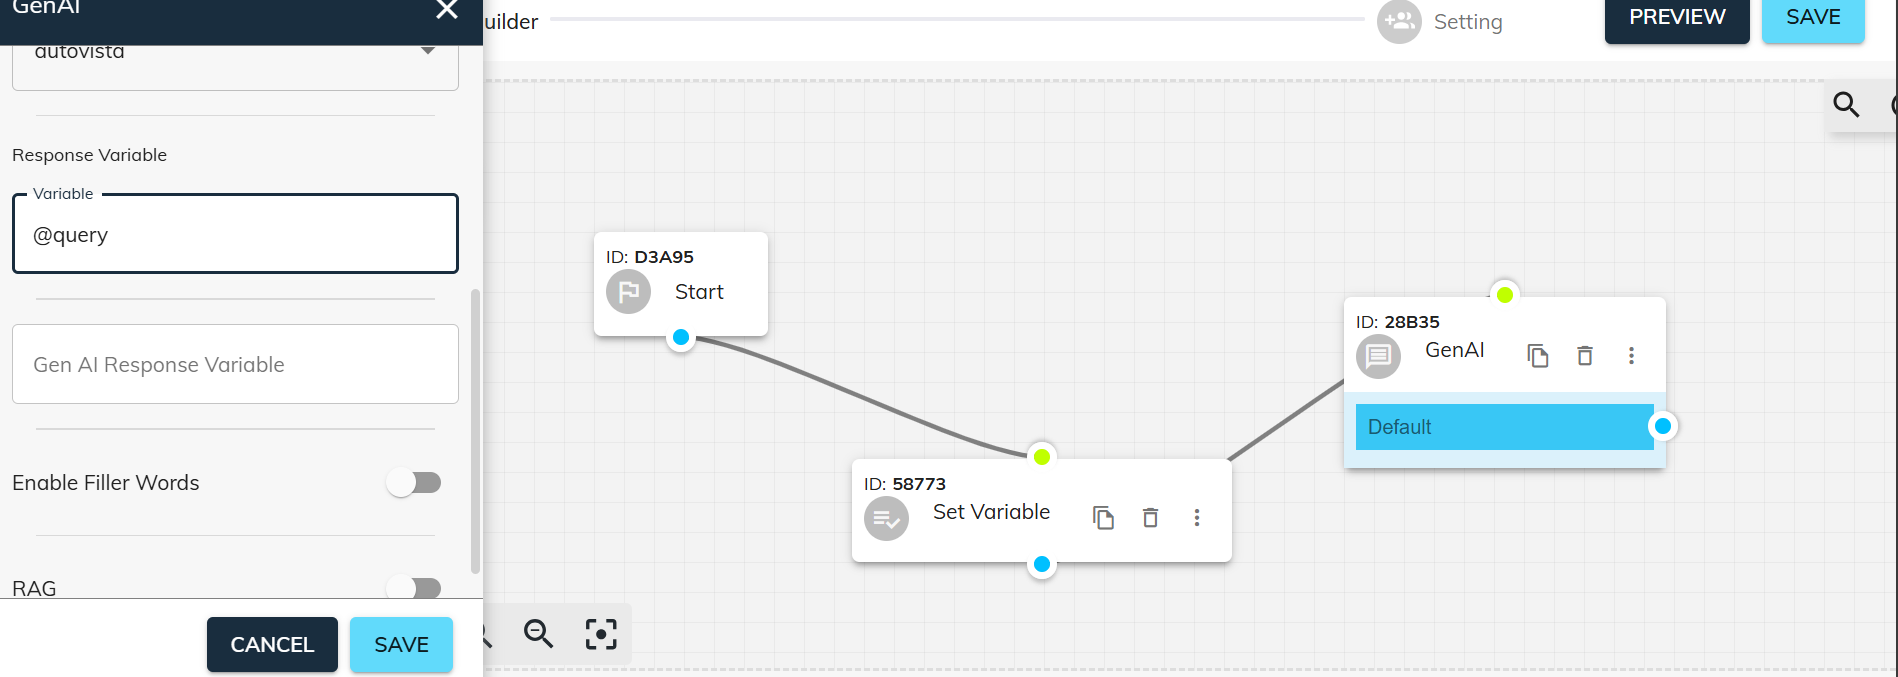
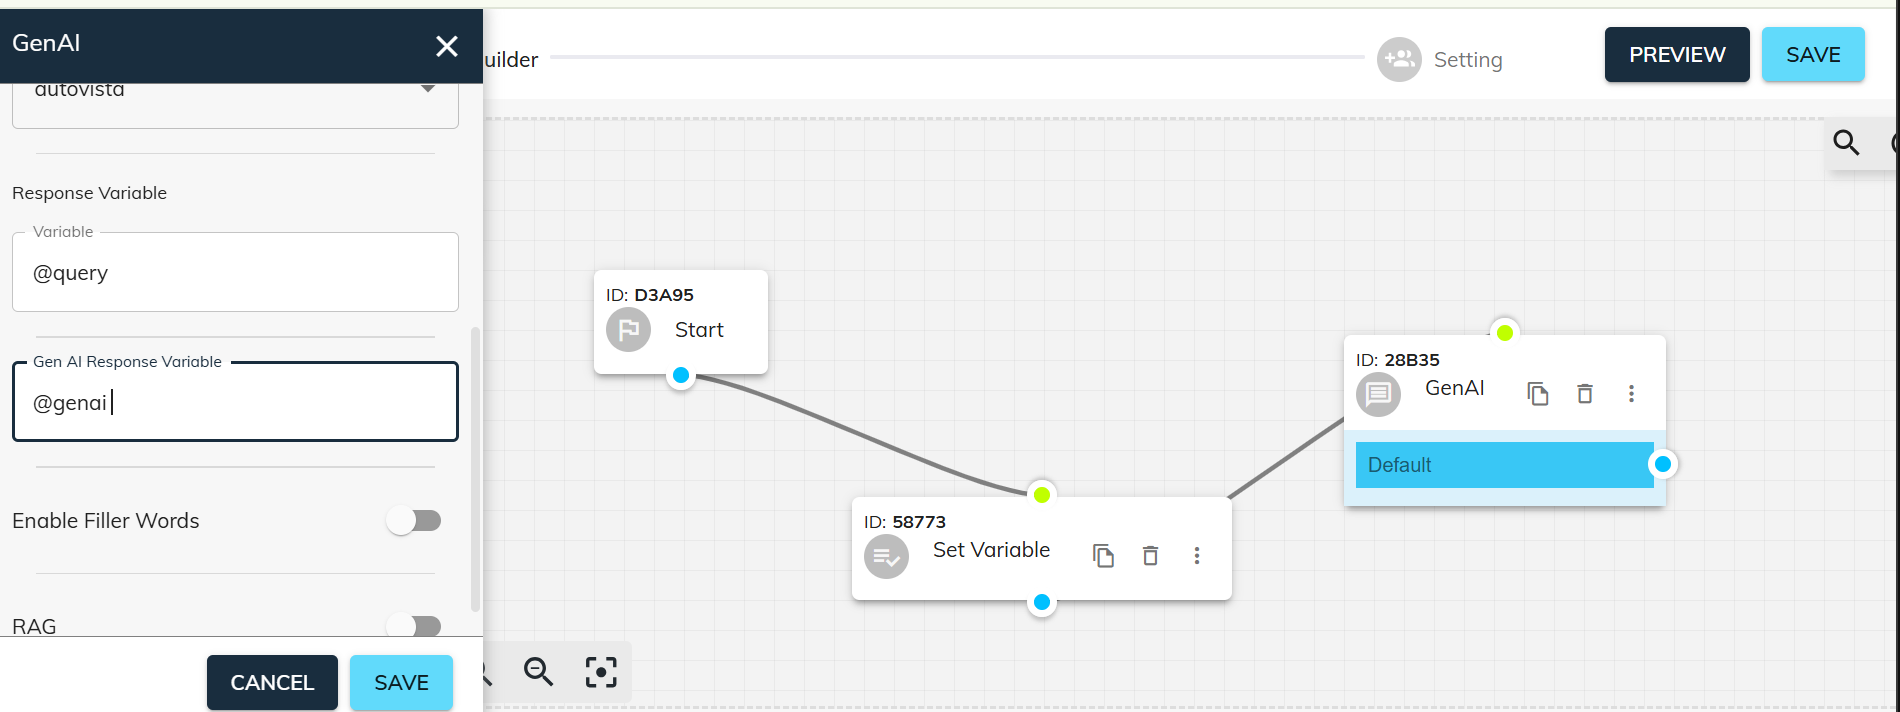
13. Set Gen AI Response Variable
- Set the Gen AI response variable as @genai.
- This stores the AI-generated response, and you can also enable filler words if required.
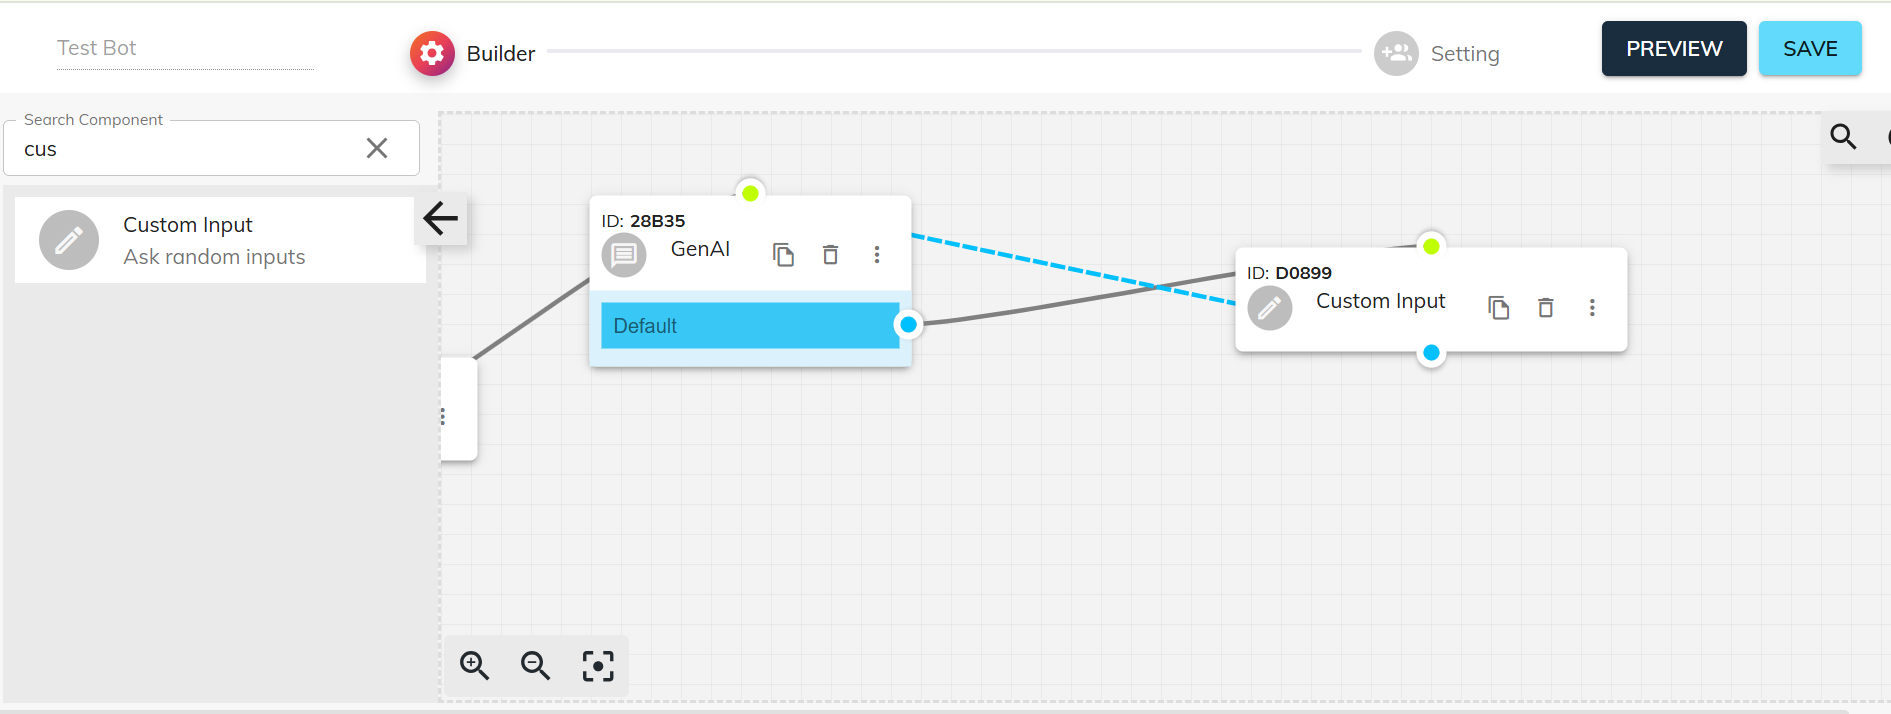
14. Loop Configuration
- Connect the output of the Gen AI component to a Custom Input.
- Then connect the output of the Custom Input back to the Gen AI component to create a loop.

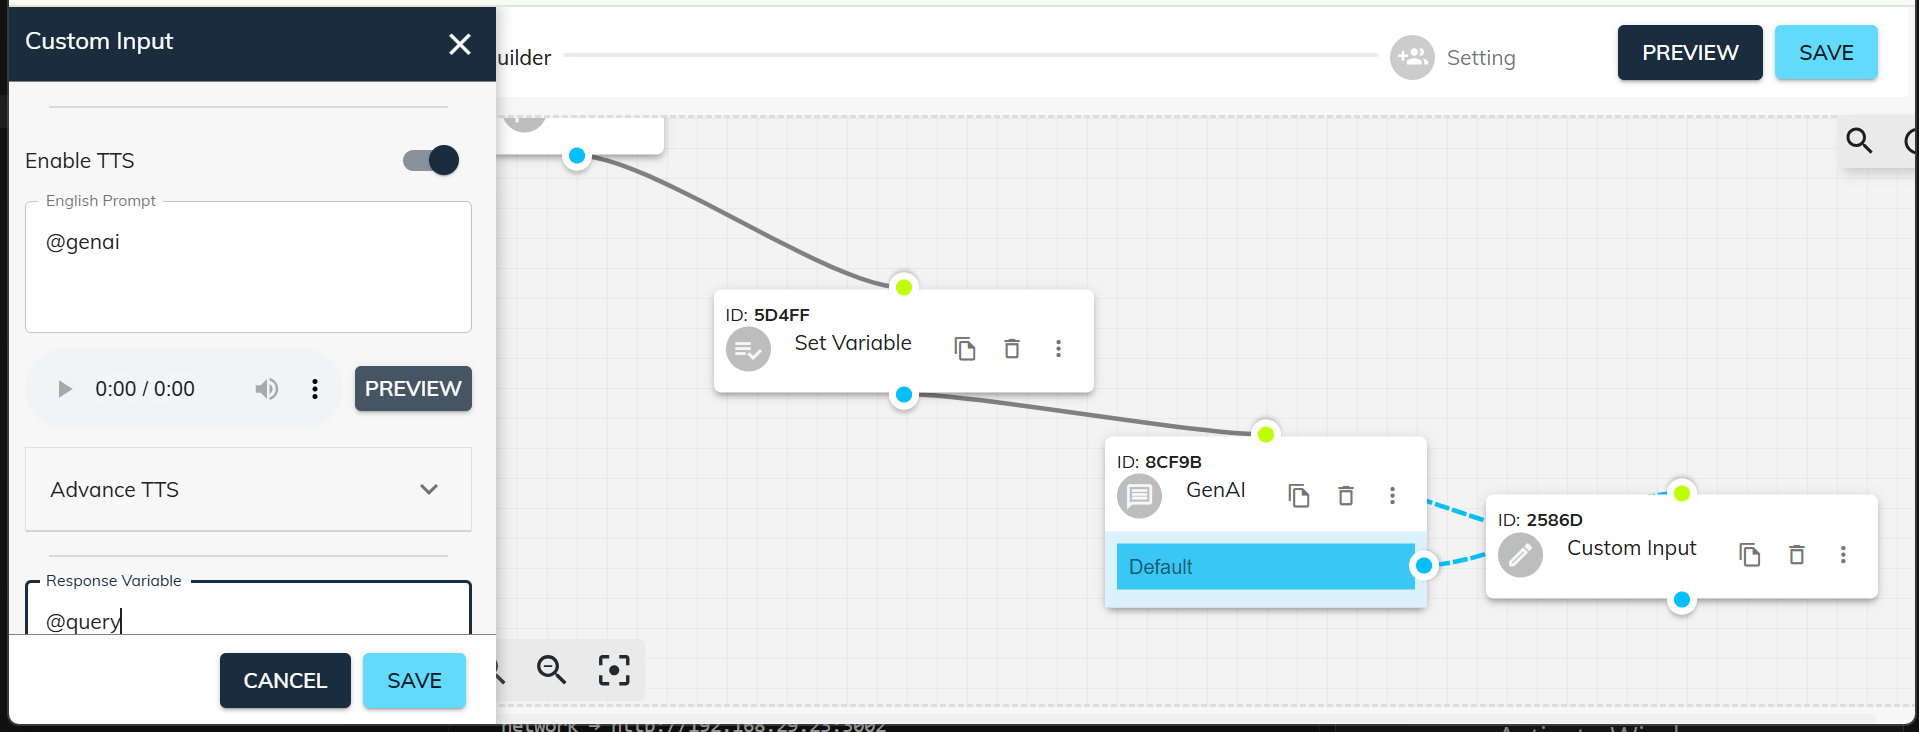
15. Custom Input for TTS Streaming
- The Custom Input component is used to stream TTS (Text-to-Speech).
- You can stream Gen AI output by setting @genai.
- For custom TTS output, connect another Custom Input and enter the text you want to stream.
16. Select Language
- Go to Settings and select the desired language for your voice bot.
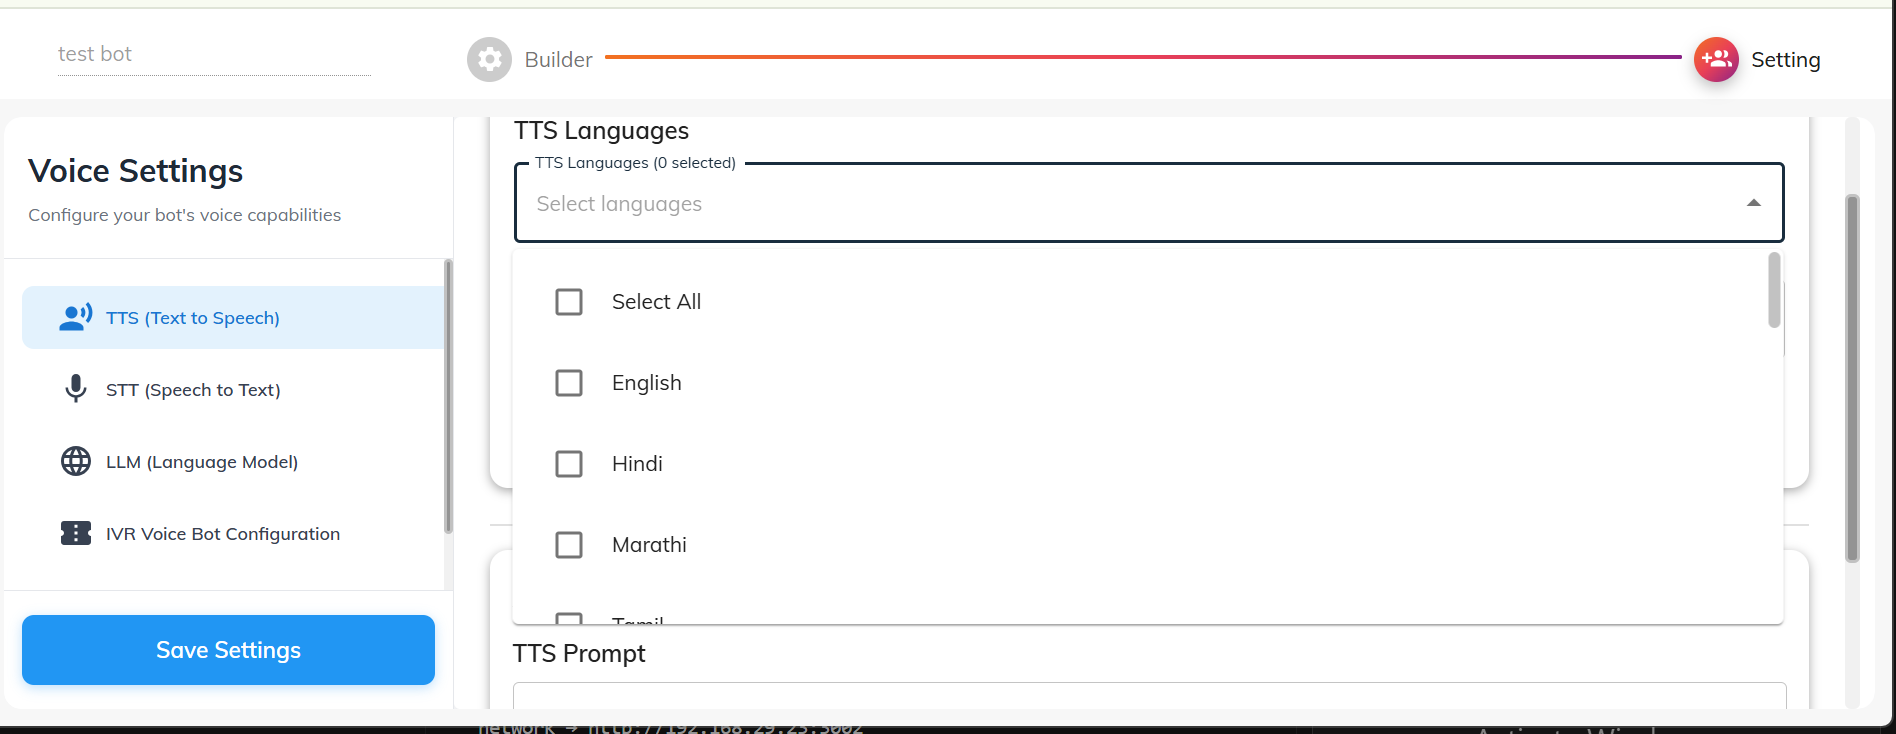
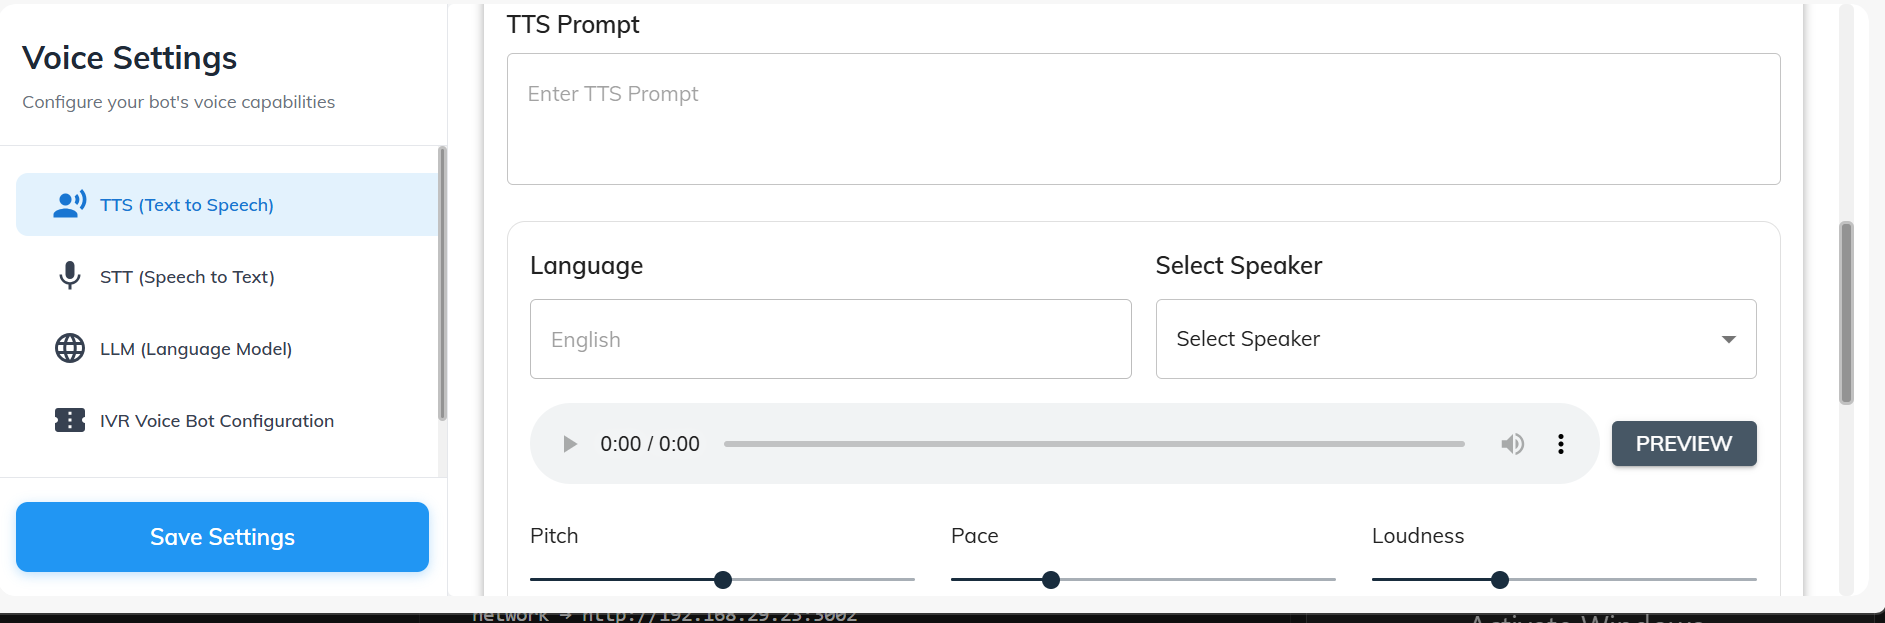
17. Customize TTS Prompt
- Customize the TTS pronunciation for specific words to ensure correct speech output.
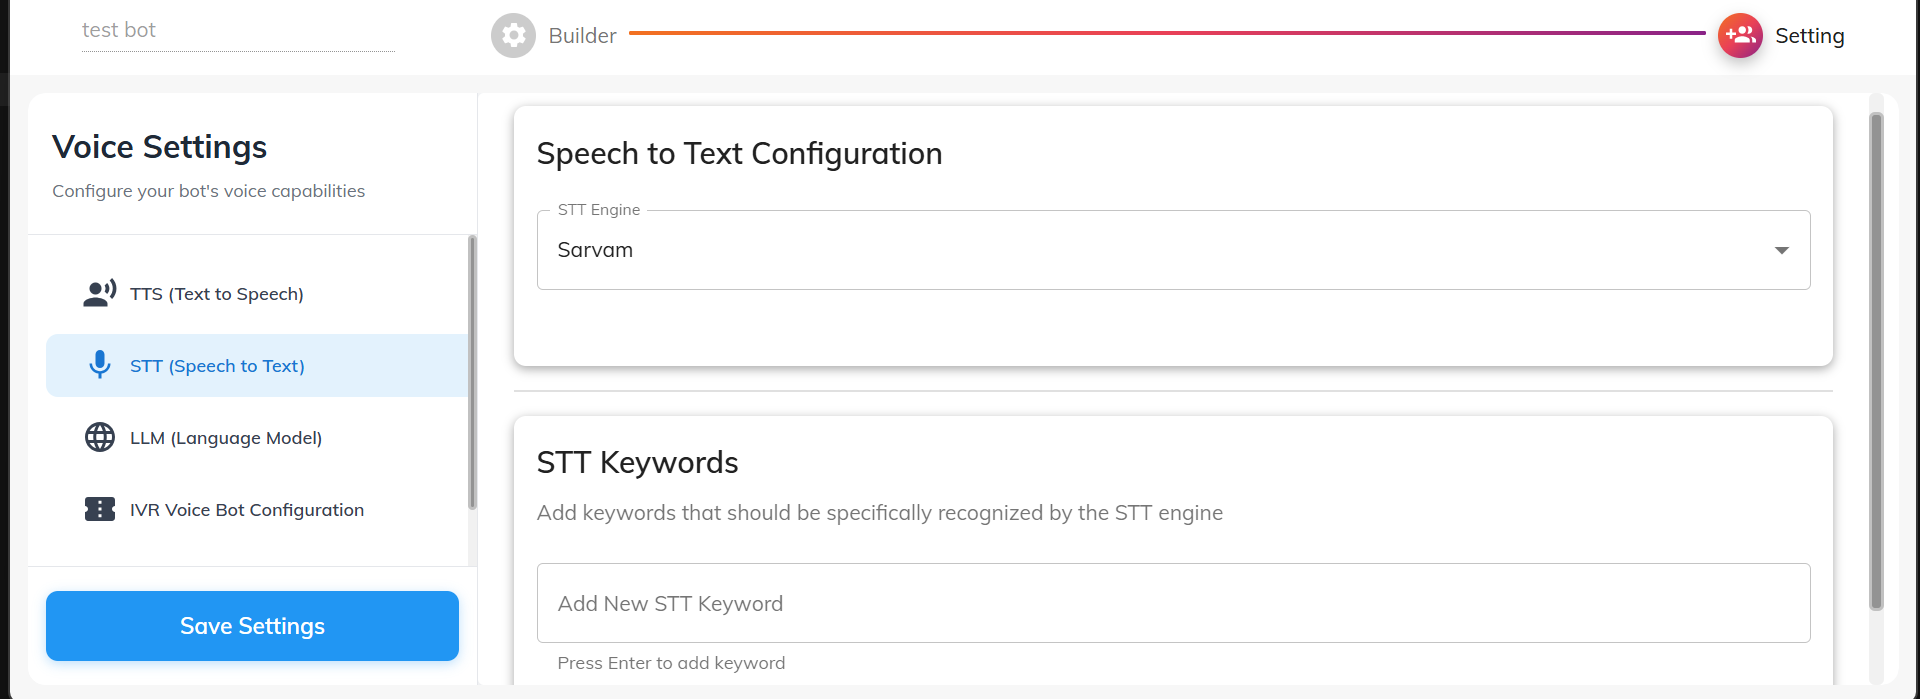
18. Configure STT
- From the side panel, select STT (Speech-to-Text) and choose your preferred STT engine.
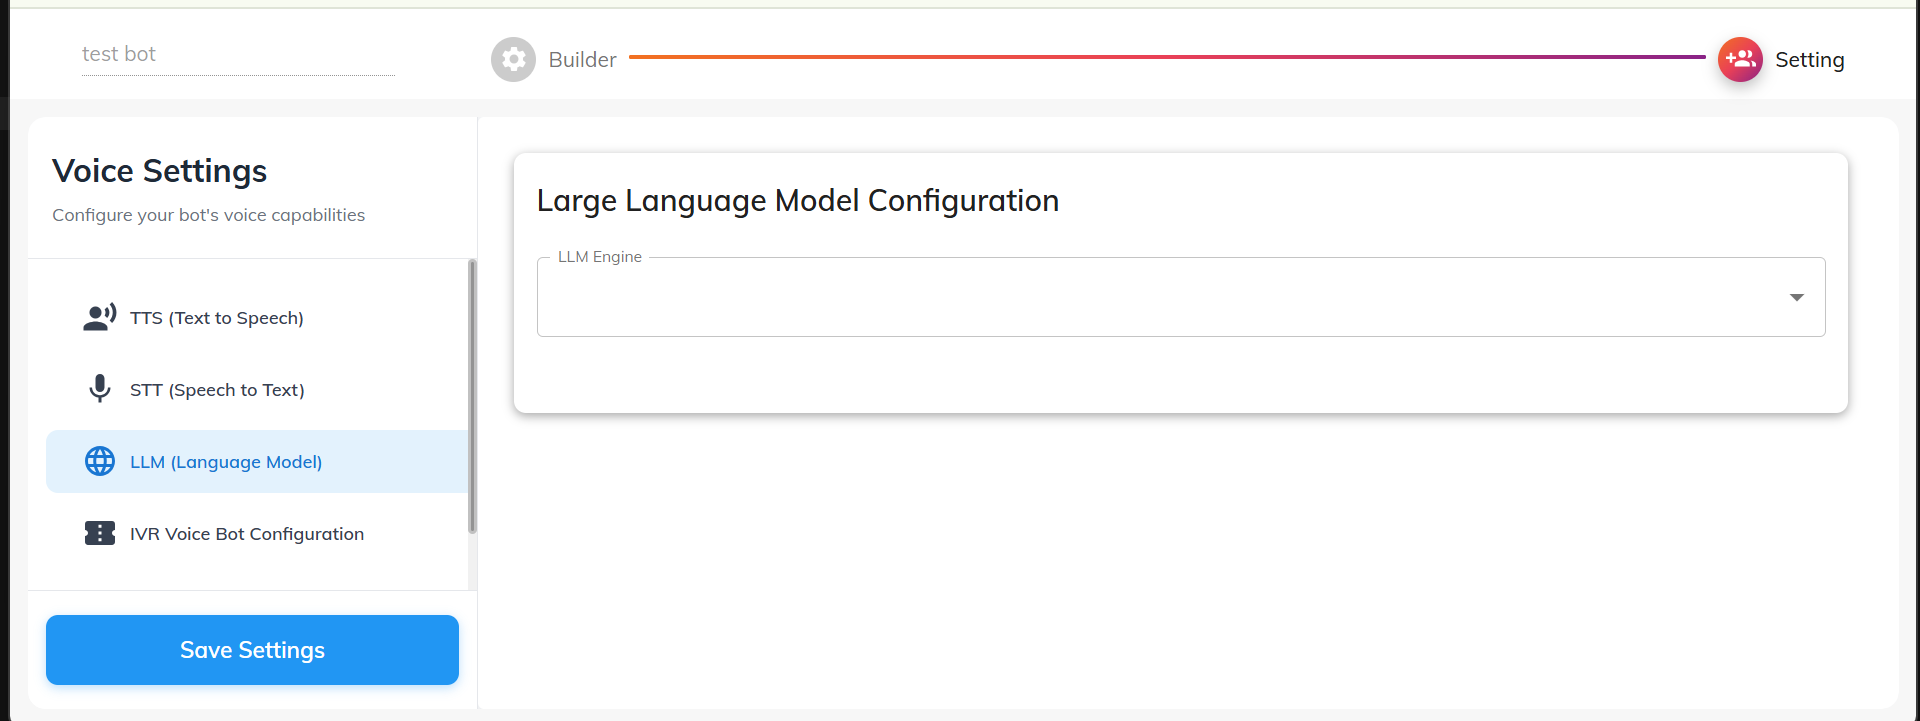
19. Select LLM
- Choose the Large Language Model (LLM) that will power the AI responses.
Thank you for your feedback!
We appreciate your feedback!