Microsoft Team Bot
Microsoft Teams is a secure collaboration platform that enables chat, file sharing, meetings, and app integration for streamlined team communication. Integrating MS Teams channels helps businesses automate customer support and collect user feedback.
| Requirement | Purpose |
|---|---|
| Microsoft 365 Admin Account | To access Azure & Teams Developer Portal |
| Azure Portal Access | Bot registration & credential generation |
| Teams Developer Portal Access | Bot creation & packaging |
| Teams App/Desktop/Web | For testing & deployment |
-
Step 1 – Sign In to Microsoft Portal
- Go to Microsoft My Apps / Admin Center.
- Login using your credentials
- Create/validate the user account that will be associated with the bot.
-
Step 2 – Access Teams Developer Portal
- Visit: https://dev.teams.microsoft.com/
- Authenticate using the same Microsoft account.
- You’ll be redirected to the Teams Developer Portal Dashboard
-
Step 3 – Create Bot via Developer Portal
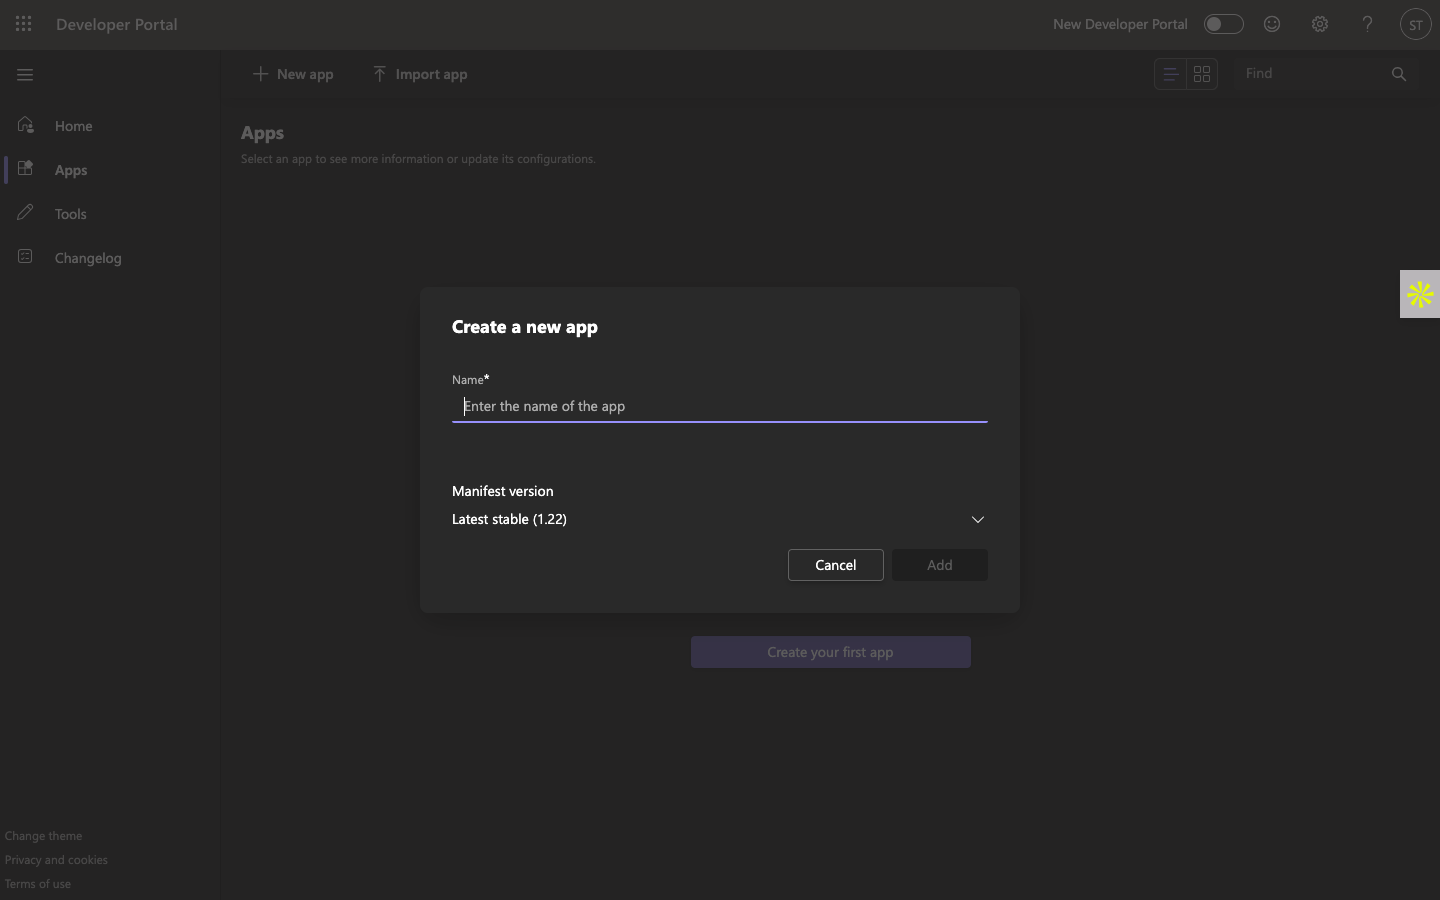
- 1. Click New App
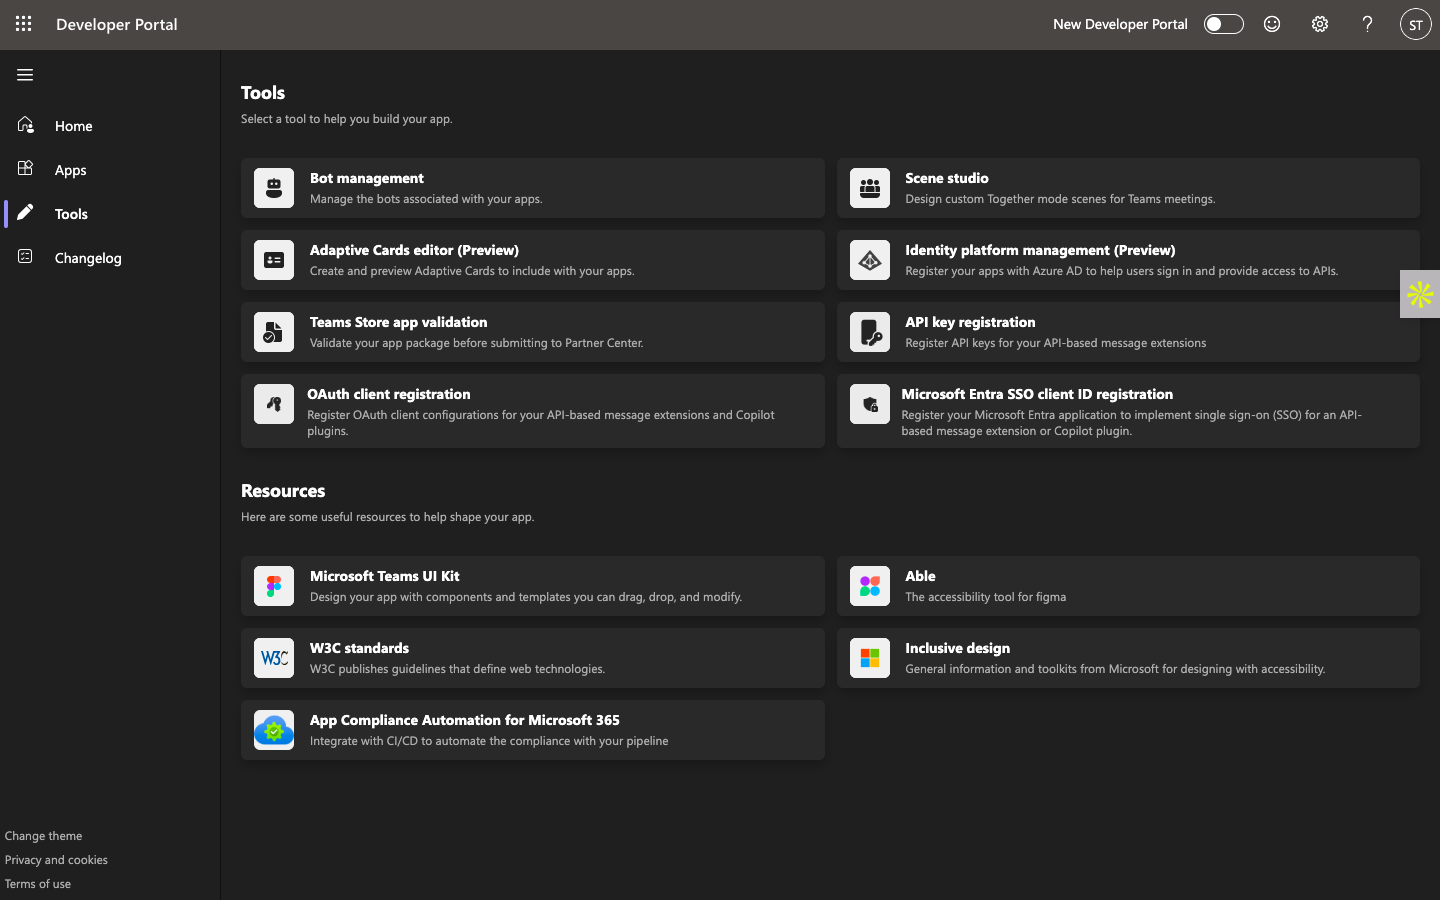
- 2. Navigate to:
Tools → Bot Management → New Bot
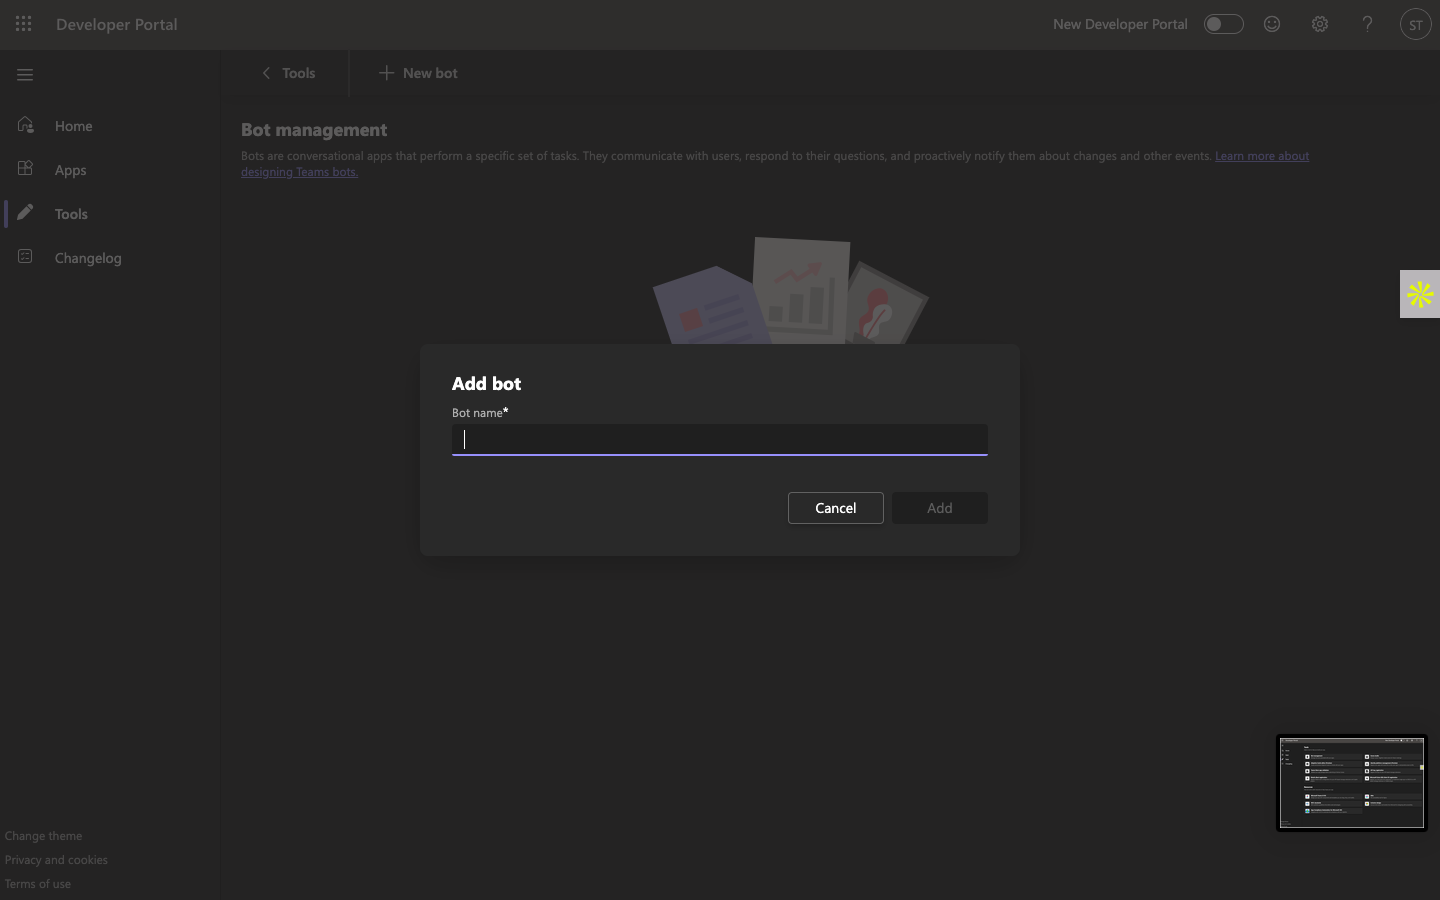
- 3. Provide basic bot details.
- 4. After creation → copy the Webhook Endpoint URL
(Used later inside Chat360 channel setup)
-
Step 4 – Configure Bot in Azure Portal
- Visit: https://portal.azure.com
- Login using your credentials
- Go to App Registrations → Select your bot
- In Overview, note
- Go to Certificates & Secrets → Create Client Secret
- Go to Expose an API → Add Application ID URI
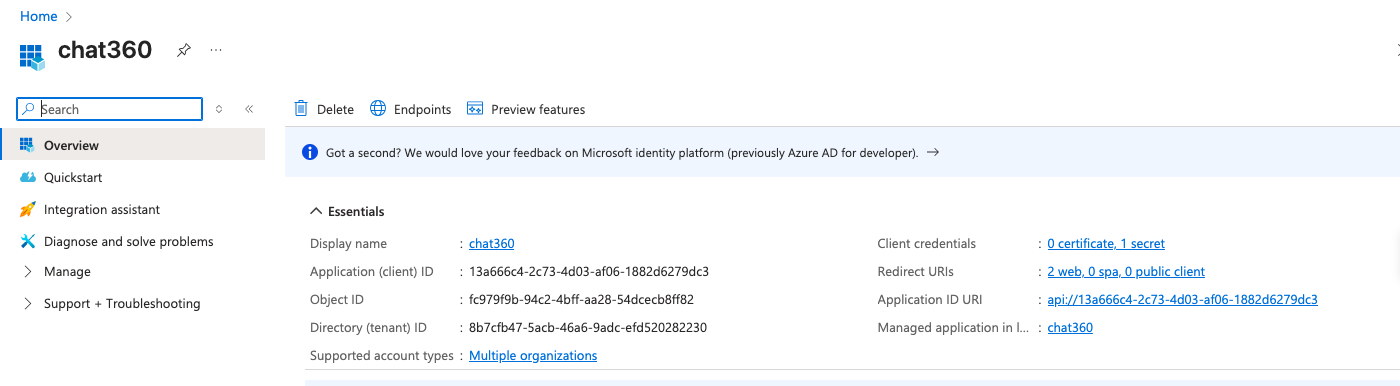
Application (Client) ID → This becomes your Bot ID
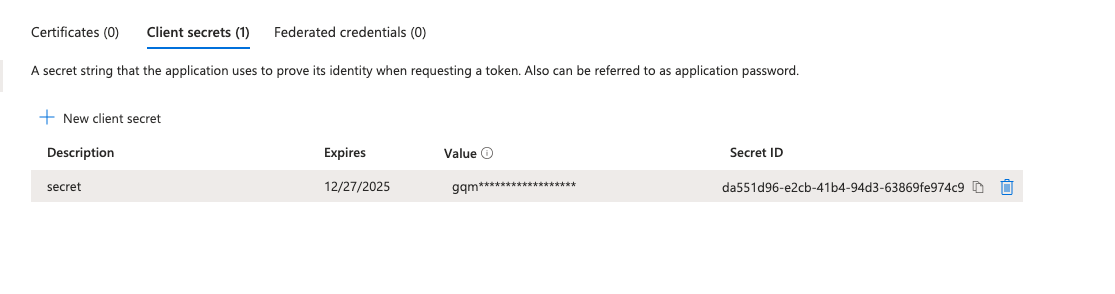
Format: api://{bot_id}
Example: api://13a666c4-2c73-4d03-af06-1882d6279dc3
-
Step 5 - Download & Upload Bot App
-
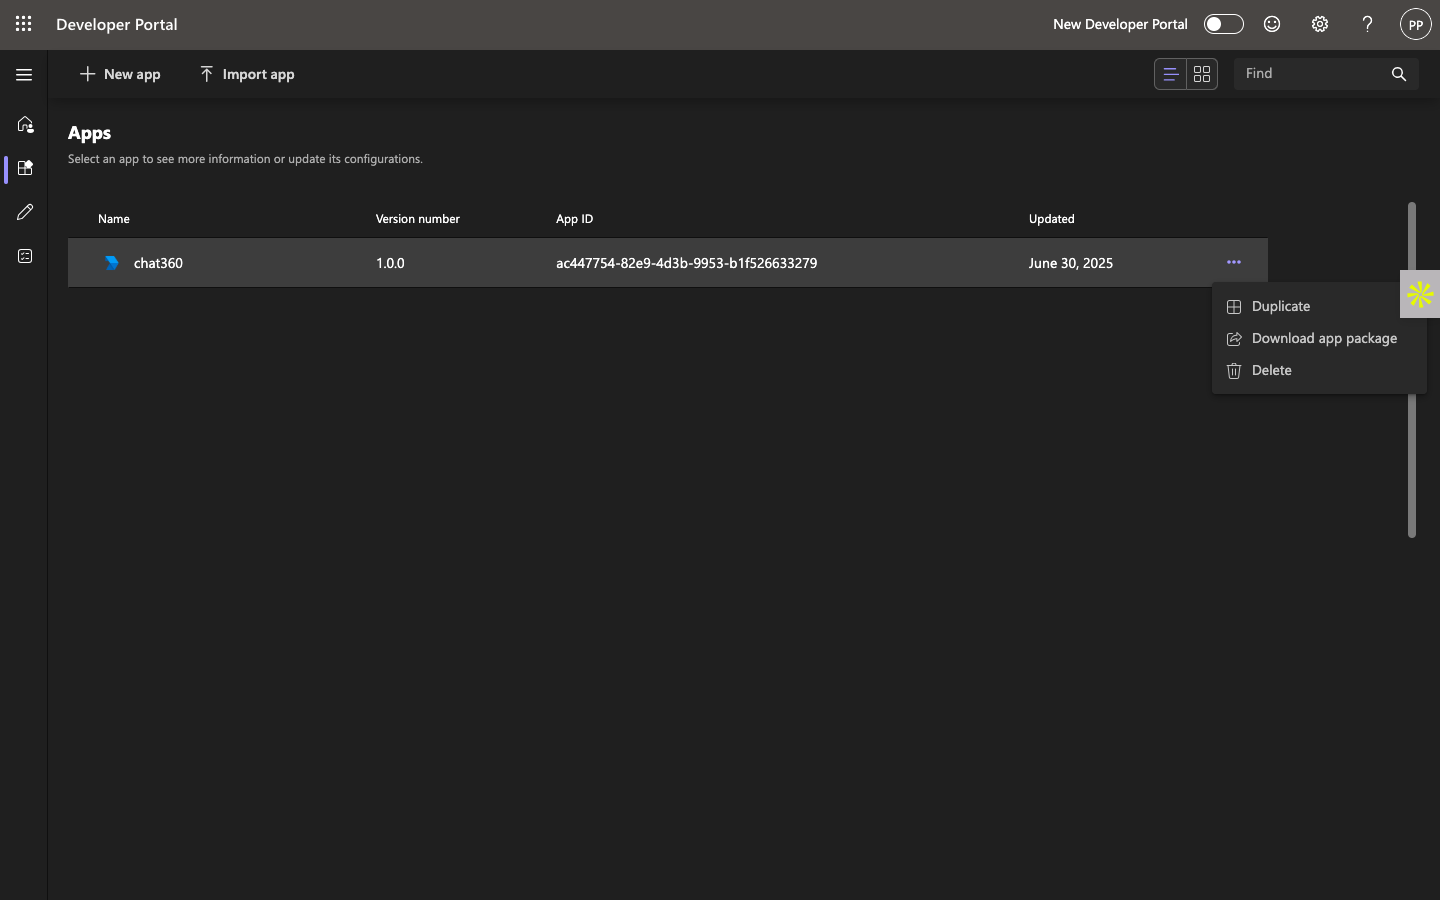
Download the App Package (.zip)
-
In Microsoft Teams:
1. Download the App Package (.zip)
1. Go to
Apps → Manage Your Apps → Upload an App
2. Upload the downloaded .zip file
-
Step 6 - Install & Distribute the Bot
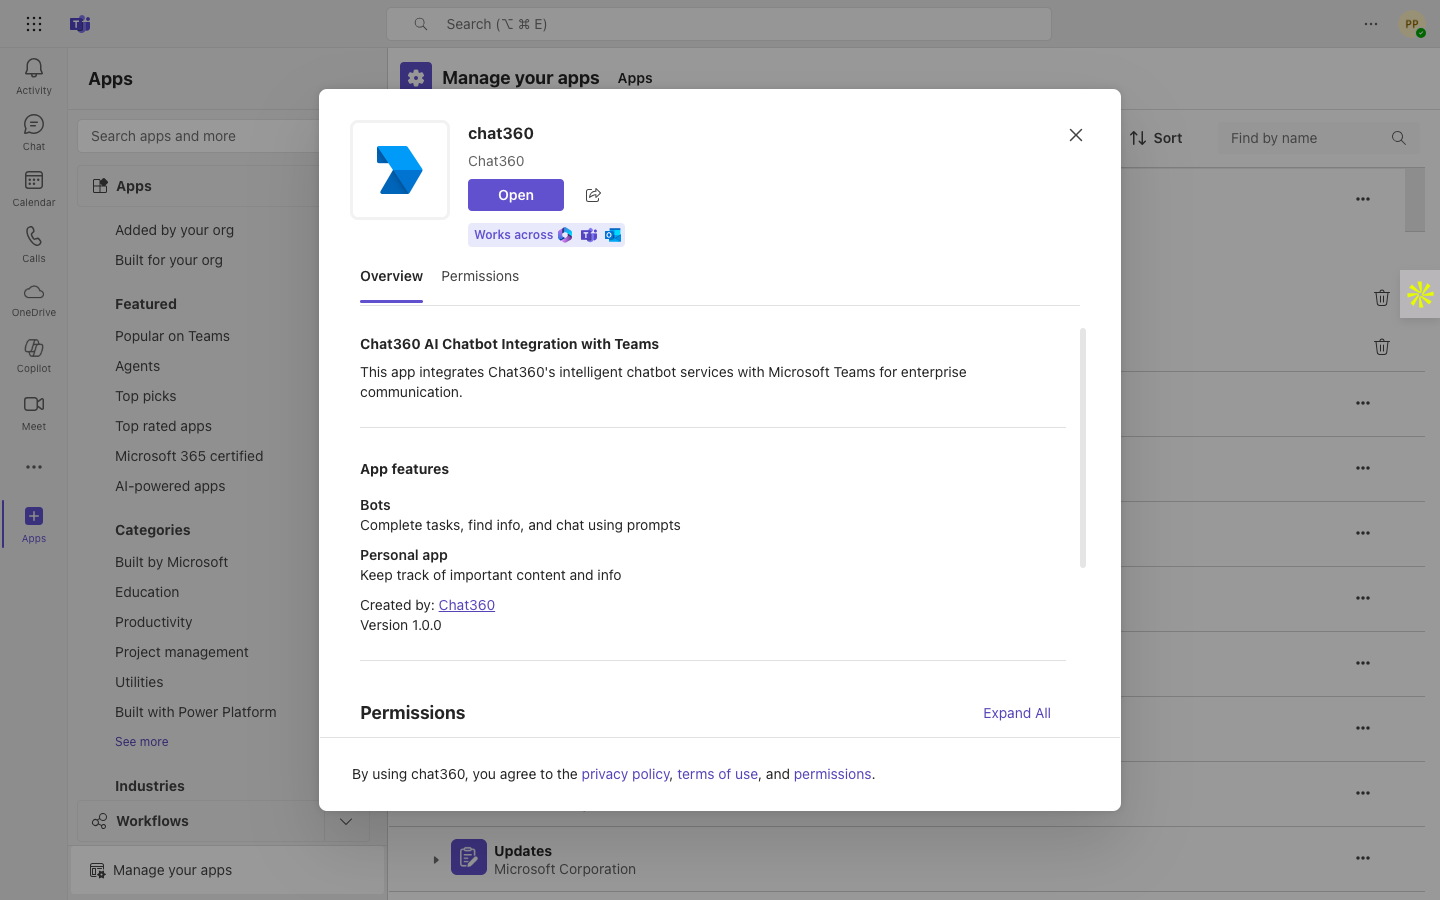

- Search for the bot by name in Teams
- Click Add
- Share with your Teams & Users
- Ensure team members install it for use
-
Step 7 – Configure Teams Channel in Chat360
When adding Microsoft Teams as a channel inside Chat360:
| Chat360 Field | Fill With |
|---|---|
| App ID | Bot ID (from Azure Overview) |
| Client Secret | Secret generated in Azure |
| Webhook URL | Auto-generated by Chat360 |
-
Configure Chat360 bot for Microsoft Teams
-
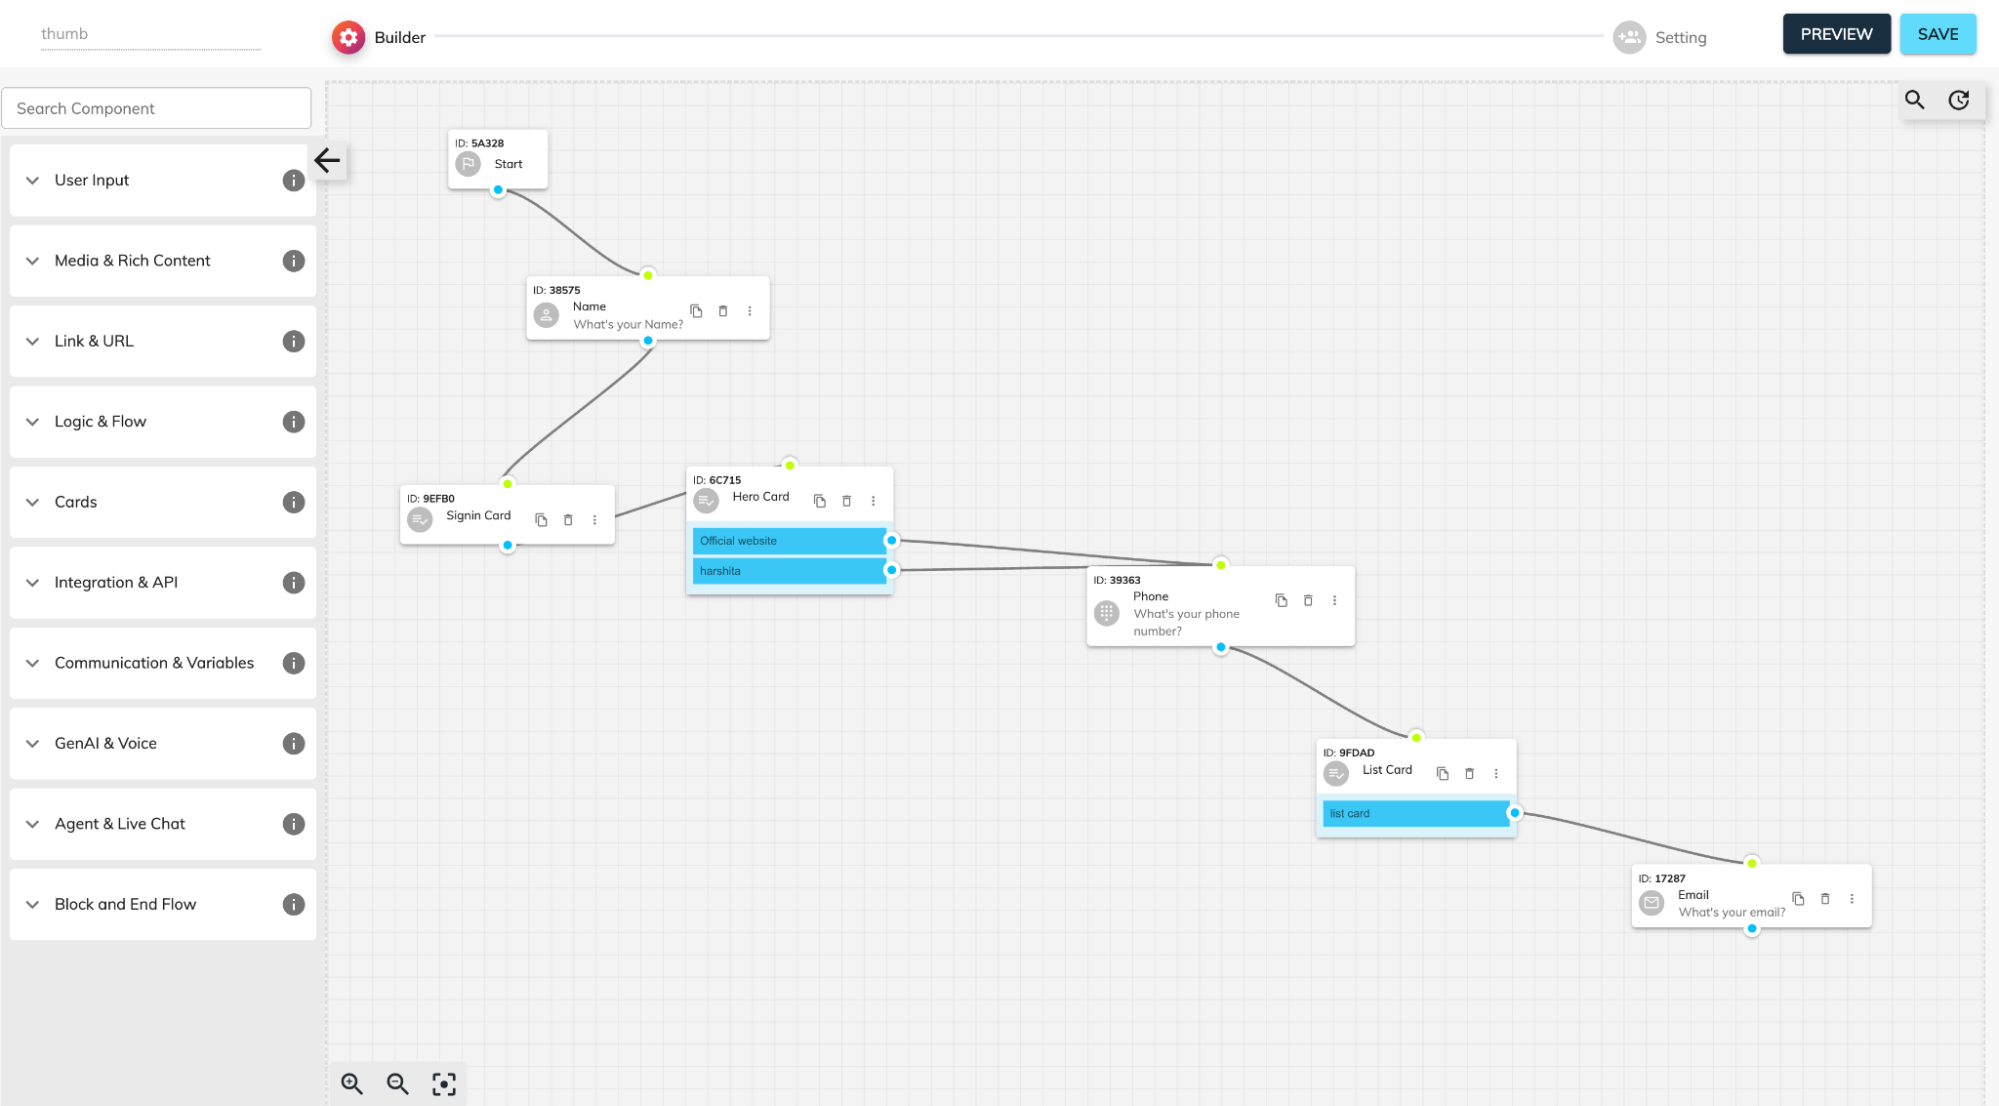
Build Your Flow
- Open Bot Builder → Create New Bot, choose MS Teams channel.
- Drag in a Start Node, then add components (Message, Name, Phone, Multiple Choice, Cards, etc.).
- Connect nodes by linking blue output dots to green input dots—defining your conversation path.
-
Connect your MS Teams Account
-
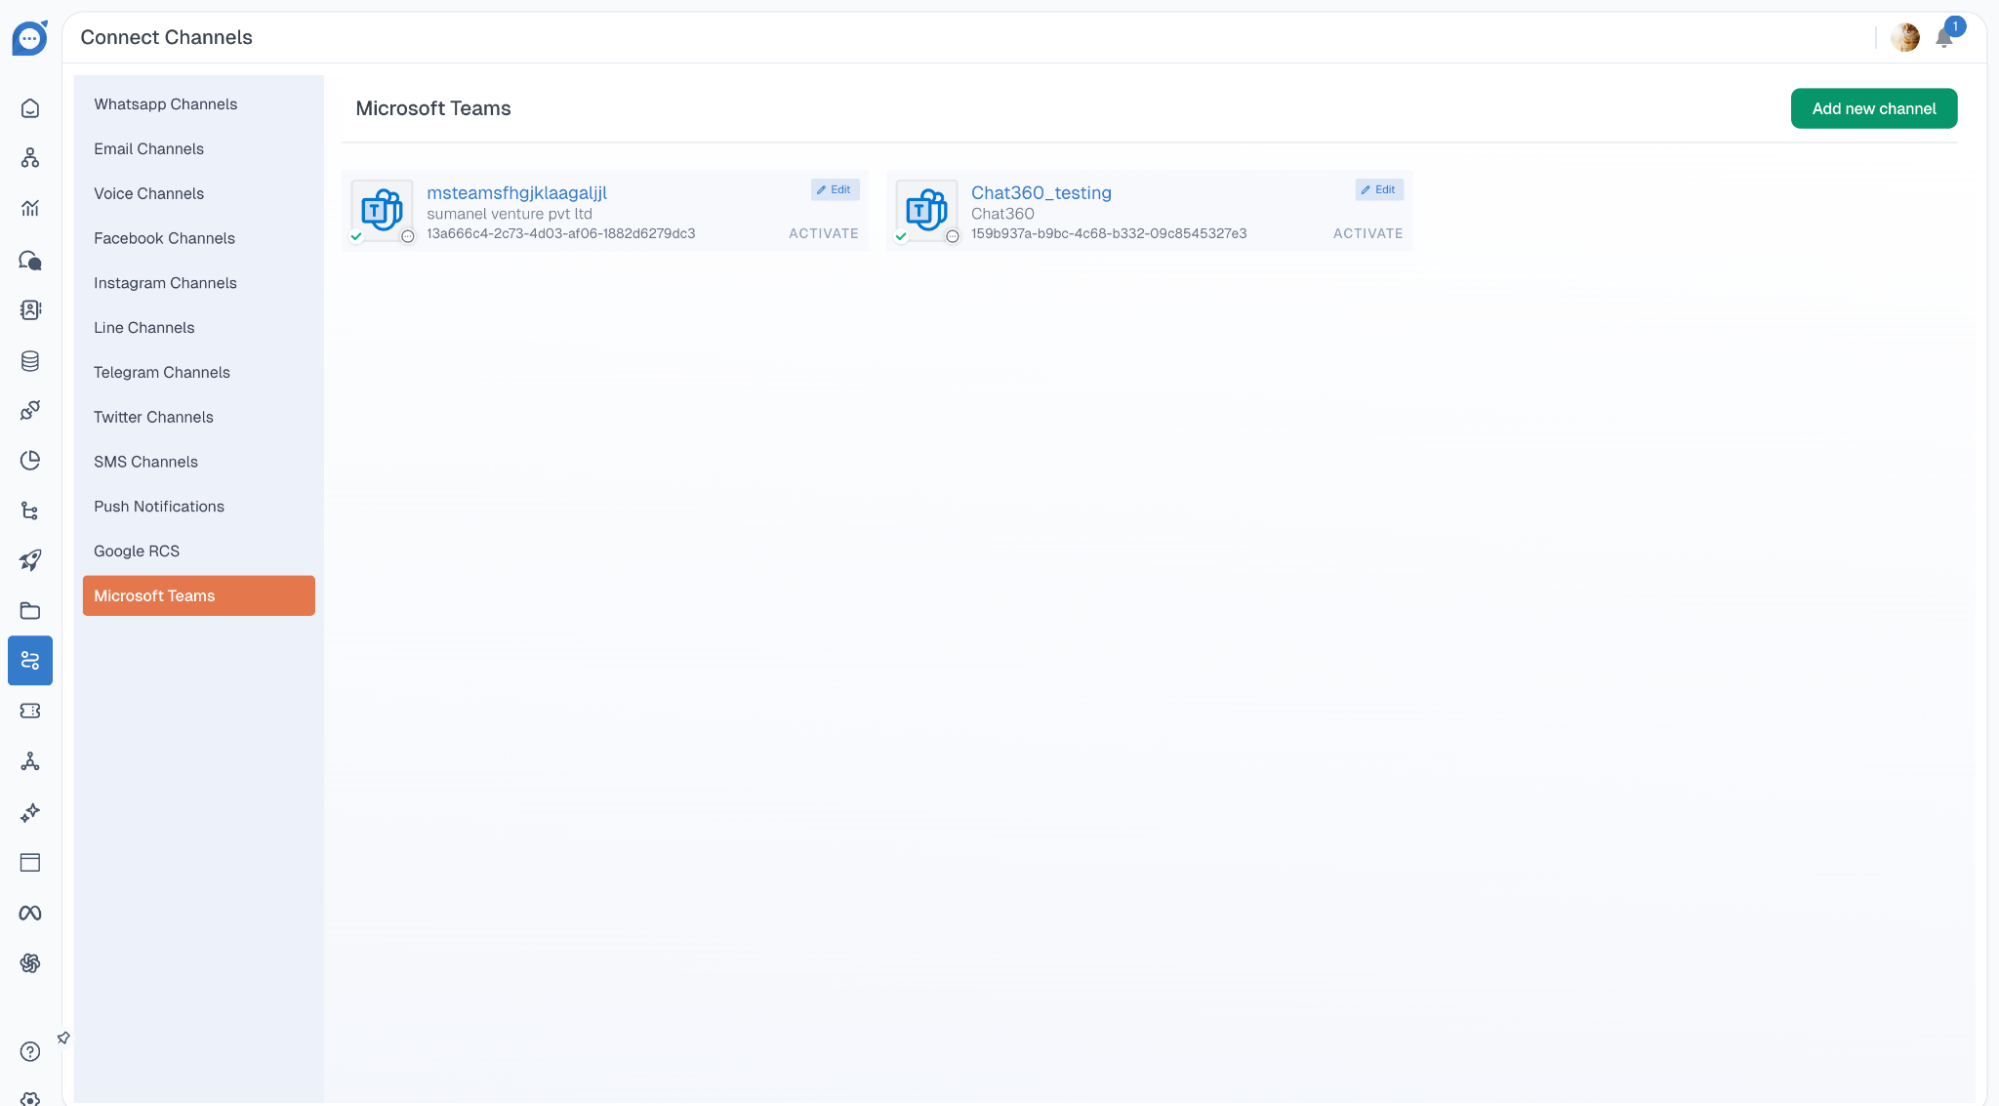
Navigate to Microsoft Teams Channel
- Log in to your Chat360 Dashboard.
- In the left sidebar, click on Channels.
- Select Microsoft Teams from the channel options.
- Create a New MS Teams Channel
- Click on the Add new channel button at the top-right corner.
- A “Create New MS Teams Channel” popup will open. Fill in the following details:
- Title – Enter your channel name
- App ID – Enter your Microsoft Teams App ID
- Client Secret – Enter Client Secret
- Company Name – Your organization’s name
- Company Email – Your official email
- Company Contact – Contact number
- Company Website – Your official website URL
- Once all fields are filled, click Create Channel.
- Your newly created channel will now appear in the list of MS Teams channels.
-
3. Assign a Bot
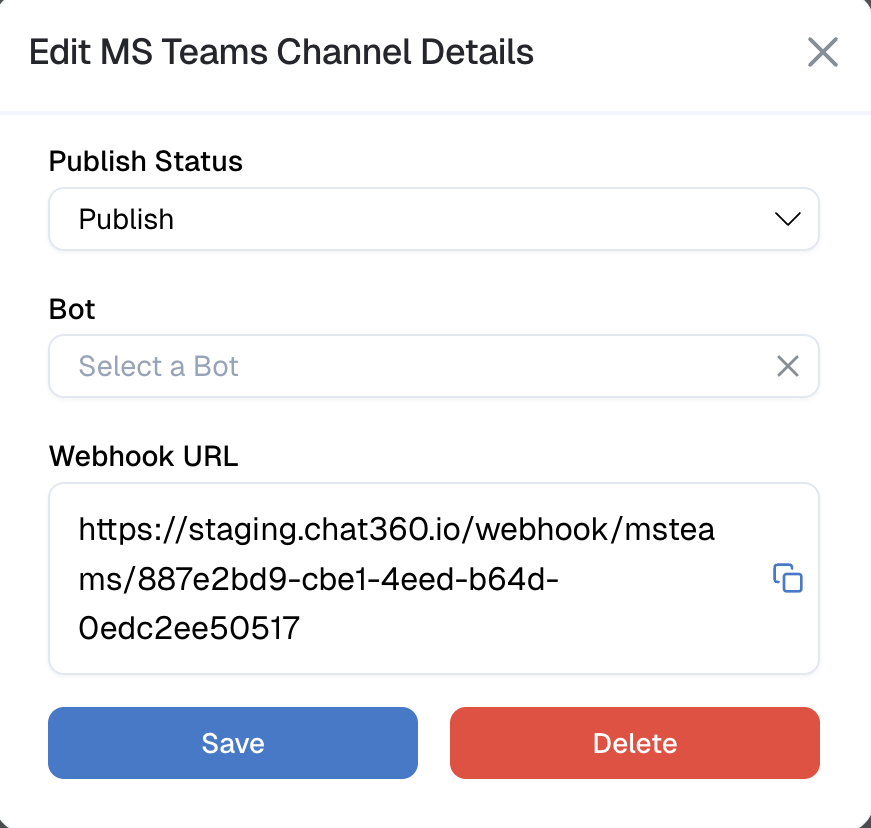
- Click on Edit on the created channel.
- Choose the bot you want to assign to the MS Teams channel.
- Click Save.
You will now receive a Welcome Message from ***** (your MS Teams bot), confirming the connection is successful.
-
4. Test Your Bot Flow
- Open Microsoft Teams (desktop or web).
- Search for ***** (your bot) in the chat list.
- Start the conversation by sending “Hi” to *****.
- The bot will reply and begin your configured bot flow.
Thank you for your feedback!
We appreciate your feedback!